
How do I set backgrounds for video calls?
Updated Reading time: 1 min
You can upload your own images that all employees and guests can select as a virtual background in video calls, for example an image with your logo or your rooms. In the selection during a call, these images appear before the built-in backgrounds.
Info
This setting is available to system administrators.
Uploading a Background#
Open the administration and select the Appearance entry under Platform in the menu.
Click on the Backgrounds tab. As long as nothing has been uploaded yet, it will say No custom backgrounds yet.
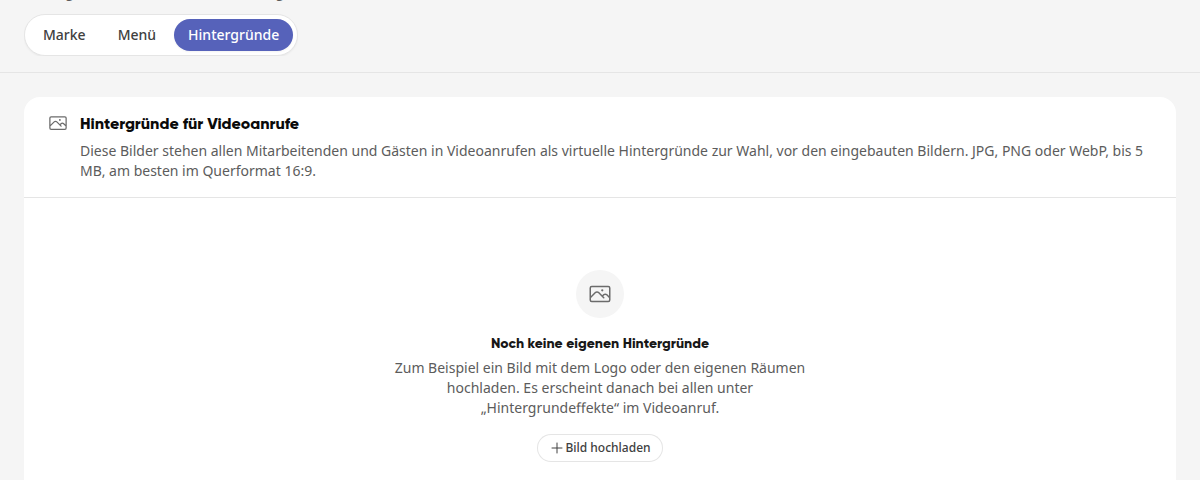
Click on Upload image and select an image from your device.
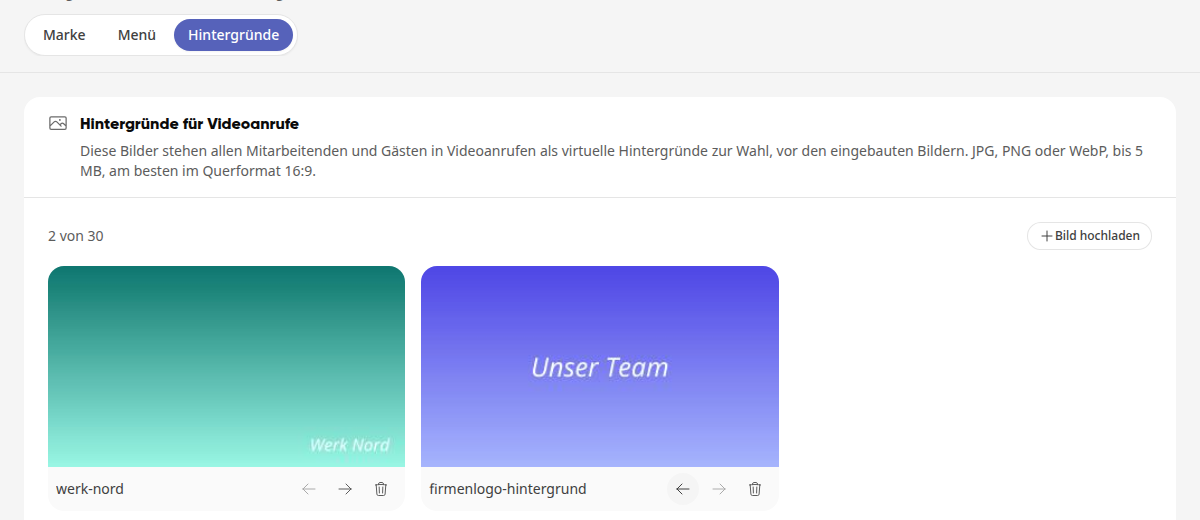
The message Background added. confirms the upload. The image appears as a tile with its file name.
From now on, everyone will see the image under Background effects in the video call.
Tip
JPG, PNG, or WebP up to 5 MB are allowed. A landscape image in 16:9 format works best. Above the list, you can see how many backgrounds have already been uploaded, for example 2 of 30.
Changing the Order#
The order on this page is also the order in the selection during the call.
Click the left arrow (Move forward) or the right arrow (Move backward) below an image.
The image moves immediately by one position. The new order is saved automatically.
Deleting a background#
Click the trash can icon (Delete) below the image.
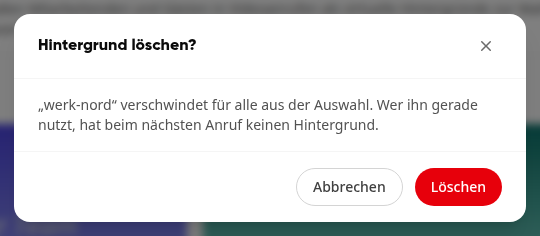
Confirm in the Delete background? window by clicking Delete.
Warning
A deleted image disappears from the selection for everyone. Anyone currently using it as a background will no longer have a background on the next call.