How do I register and receive visitors?
Updated Reading time: 3 min
On this page
You register your visit in advance, have the necessary documents confirmed, and check the visitor in and out upon arrival and departure. This way, your company always knows who is currently in the building.
Info
All employees can register visits. You see the visits you created or for which you are the host. HR managers see all visits and additionally the Visitor Profiles tab.
Register a visit#
In the navigation, open Visitors and click on Register Visit.
Under Visitor, select a person who has been there before or is in the CRM. If they are new, click New Visitor and enter First Name and Last Name, as well as Company, Email, and Phone if needed. With Also create in CRM, an additional contact is created that everyone can see.
Check the Host. You are pre-selected by default.
Set the Day, Start, End Date, and End Time.
If needed, select a room via Select Room…. The list shows you which rooms are available and which are occupied at your time. The room is booked for the visit.
Under Purpose, enter what the visit is about.
Under Documents to Confirm, select what your visitor should confirm. Your company's default selections are already checked.
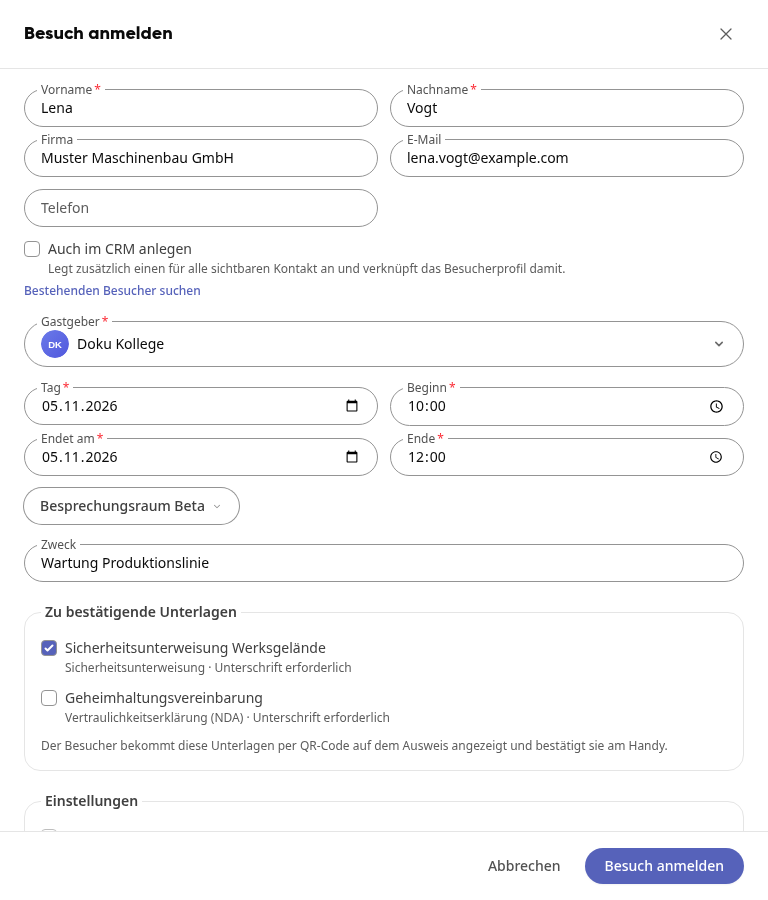
If you have entered an email address, leave Send invitation with link by email to the visitor checked. Your visitor will then receive the appointment, host, and the link to the documents.
Click on Register Visit. The Visit Details will open, and the visit will appear under Today or Upcoming.
Tipp
If someone is already at the door, remove all documents and check Visitor is already here (check in directly). This is not possible with documents because they must be confirmed first.
Have documents confirmed in advance#
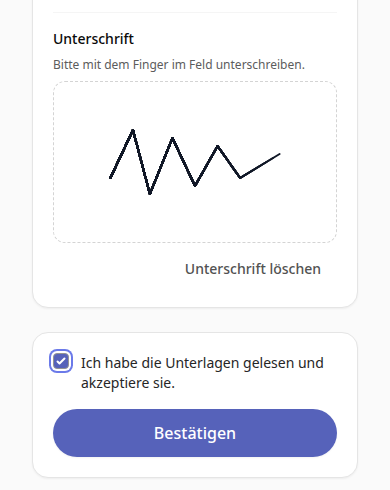
Your visitor opens the link from the invitation or scans the QR code on the badge, without any login. There, they read the documents, sign if necessary with their finger, check I have read the documents and accept them. and tap Confirm.
In the Visit Details, the document then changes from Pending to Confirmed. You can also share the link yourself there:
Click on the visit in the list.
Under Have documents confirmed in advance, use the Copy Link button or display the code directly on the screen via Show QR Code.
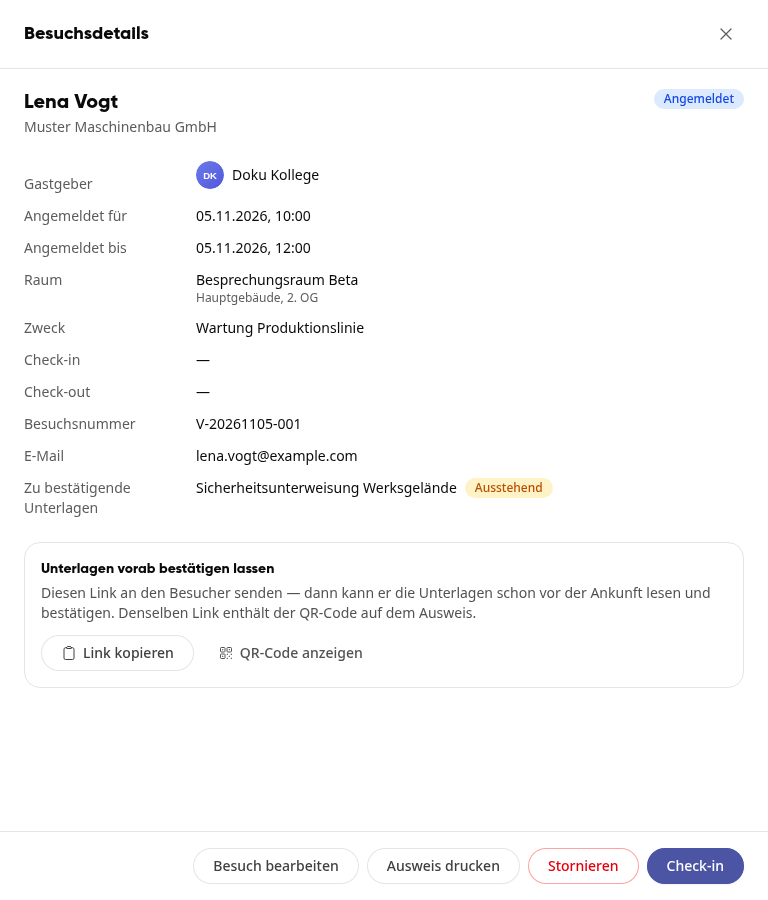
If the email did not arrive, you will find Resend Invitation in the three-dot menu of the row, as long as the visit is registered and there are still documents open.
Warnung
The link is only valid on the device on which it was first opened. On any other device, a message appears to report to the reception. Then click Reset device binding in the visit details so that the link works again the next time it is opened.
Check in visit and print badge#
Click Check-in in the visit row.
If all documents are confirmed, click Confirm. If there are still some open, Confirm at Reception opens. Have your visitor read the text on the device and sign, check the confirmation, and click Confirm Check-in.
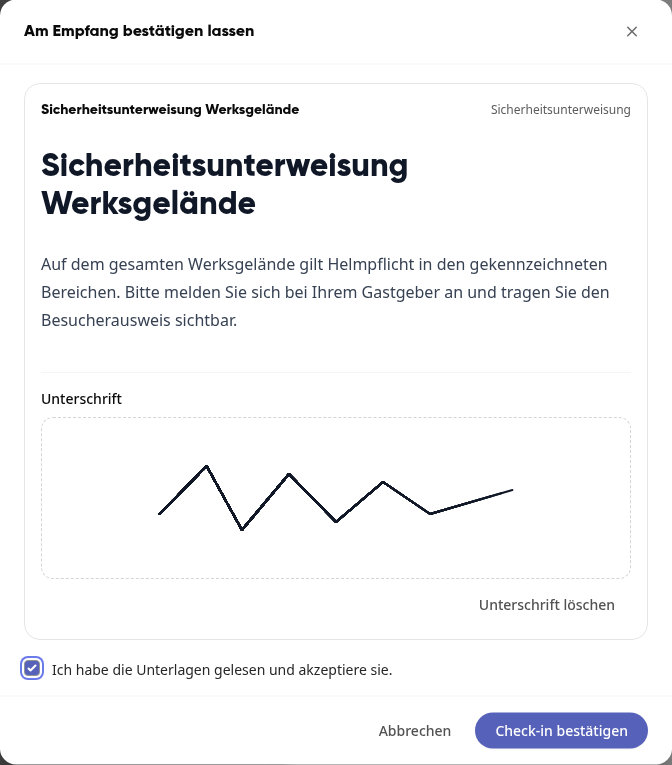
The status changes to Checked In. If someone else checks in the visit, the host is notified. You can print the badge in the visit details or in the three-dot menu of the row with Print Badge.
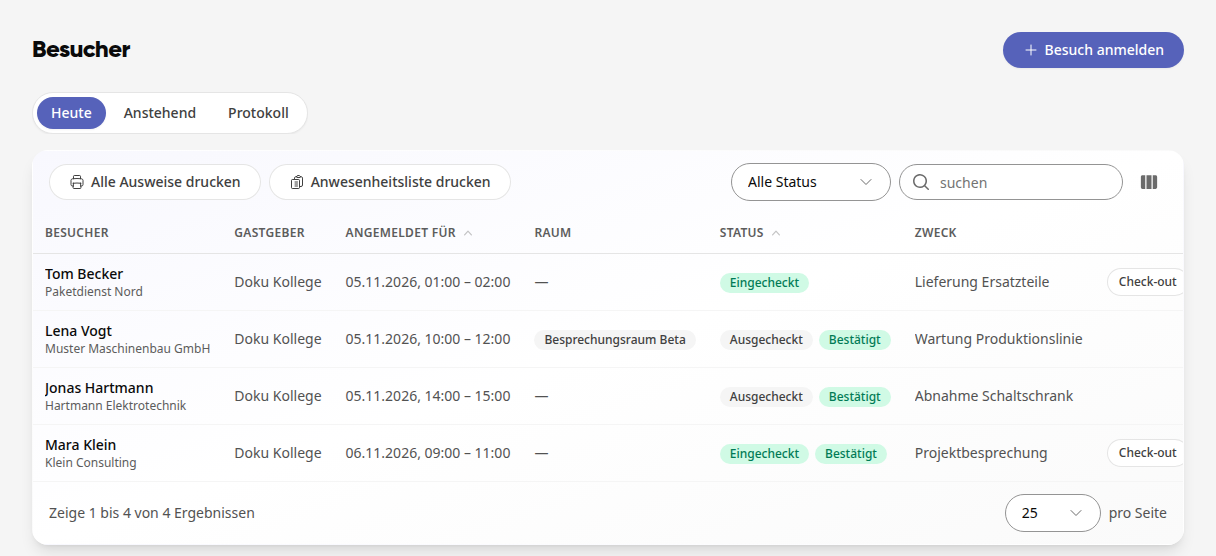
The badge shows the name, company, host, date, room, visit number, and QR code. Under Today, you can print all badges of the day with Print All Badges and print a list of all checked-in visitors with Print Attendance List.
Wichtig
Check-in and check-out cannot be undone.
Check out visit#
Click Check-out in the visit row.
Confirm with Confirm. The status changes to Checked Out, and a booked room is immediately available again.
Your visitor can also check out themselves: After check-in, Check Out Now appears on their page.
Change or cancel visit#
As long as the status is Registered, you can open the visit and click Edit Visit or Cancel. A canceled visit remains in the log with the status Canceled.
Review past visits#
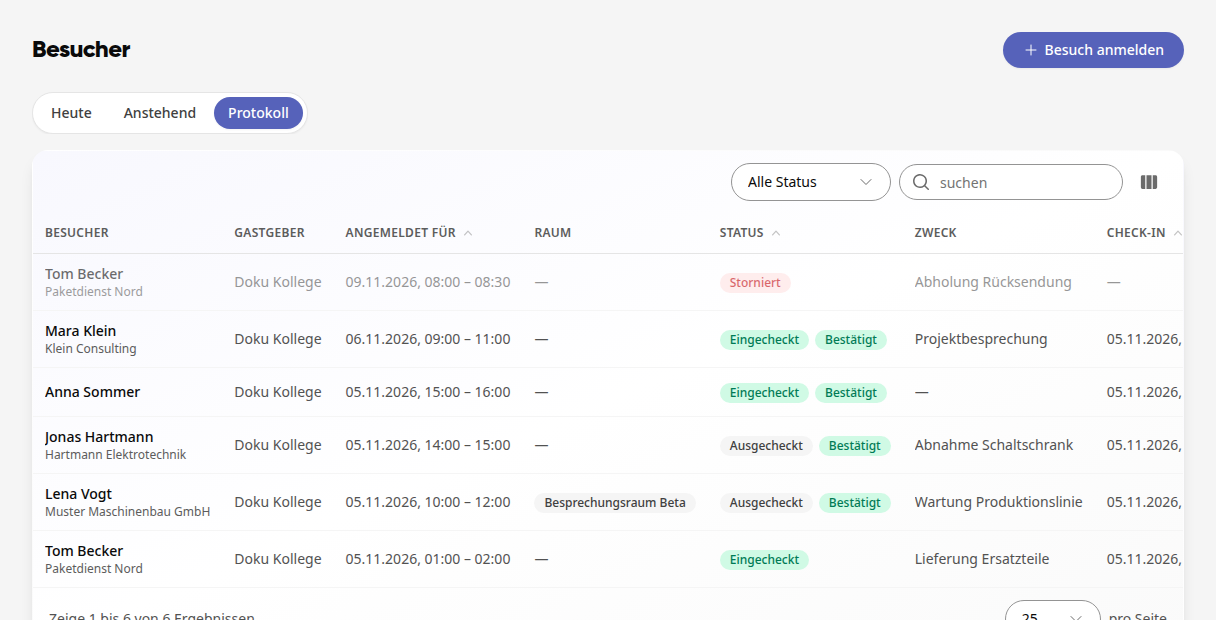
Under Log, you will find your visits with status, check-in, and visit number. Use All Statuses and the search field to narrow down the list.