
How do I maintain the documents for visitors?
Updated Reading time: 2 min
Here you create confidentiality statements, safety instructions, and other texts that visitors must read and confirm before check-in. You also determine the format in which IDs are printed and what information external guests receive.
Info
This function is available to HR managers and system administrators. The settings apply to the entire company.
Create document#
Open Administration and then under Organization select Visitors.
In the Documents tab, click New Document in the top right.
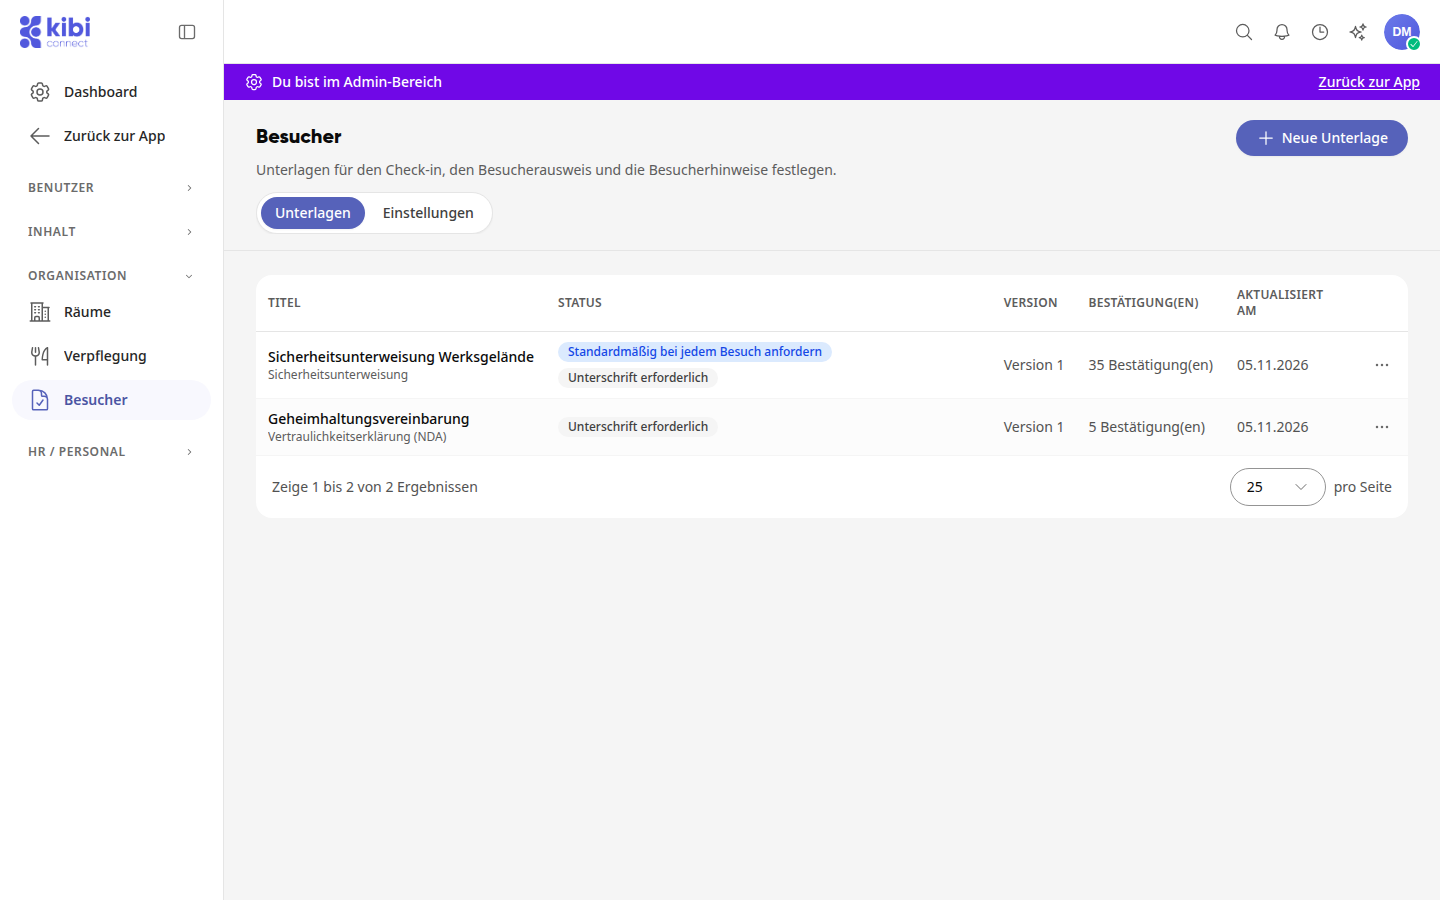
Under Type, select between Confidentiality Agreement (NDA), Safety Instruction, and Other.
Enter the Title and Text. This text will be displayed to the visitor on their phone.
Define how the document is used. Signature required additionally requires a digital signature besides the checkbox. Request by default for each visit pre-checks it for new visits. Active remains set as long as it should be offered.
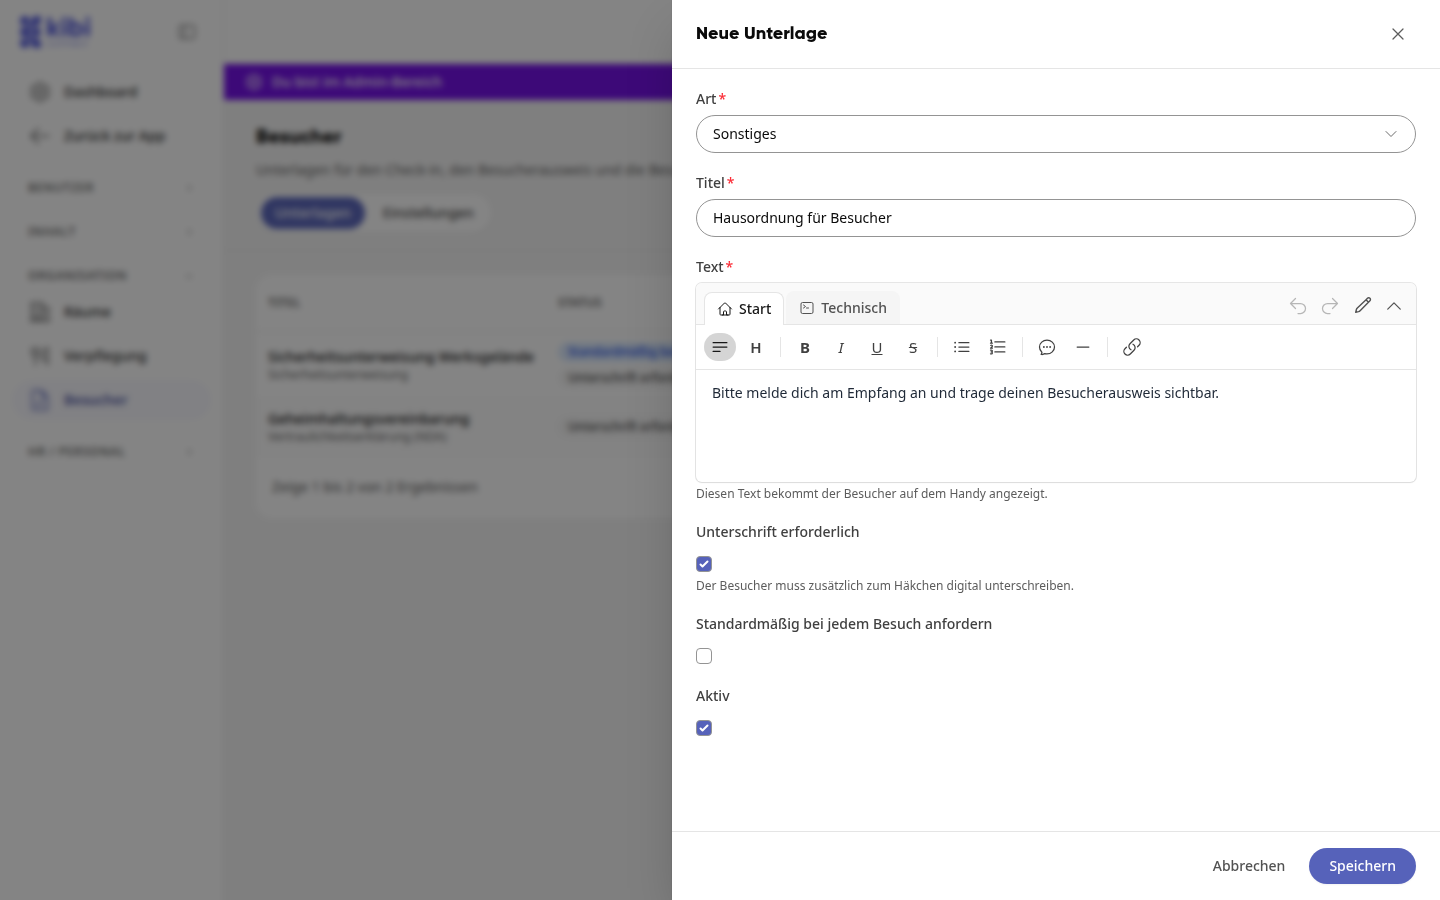
Click Save. The document will now be available under Documents to Confirm when registering a visit.
Edit document#
Click on the document in the list.
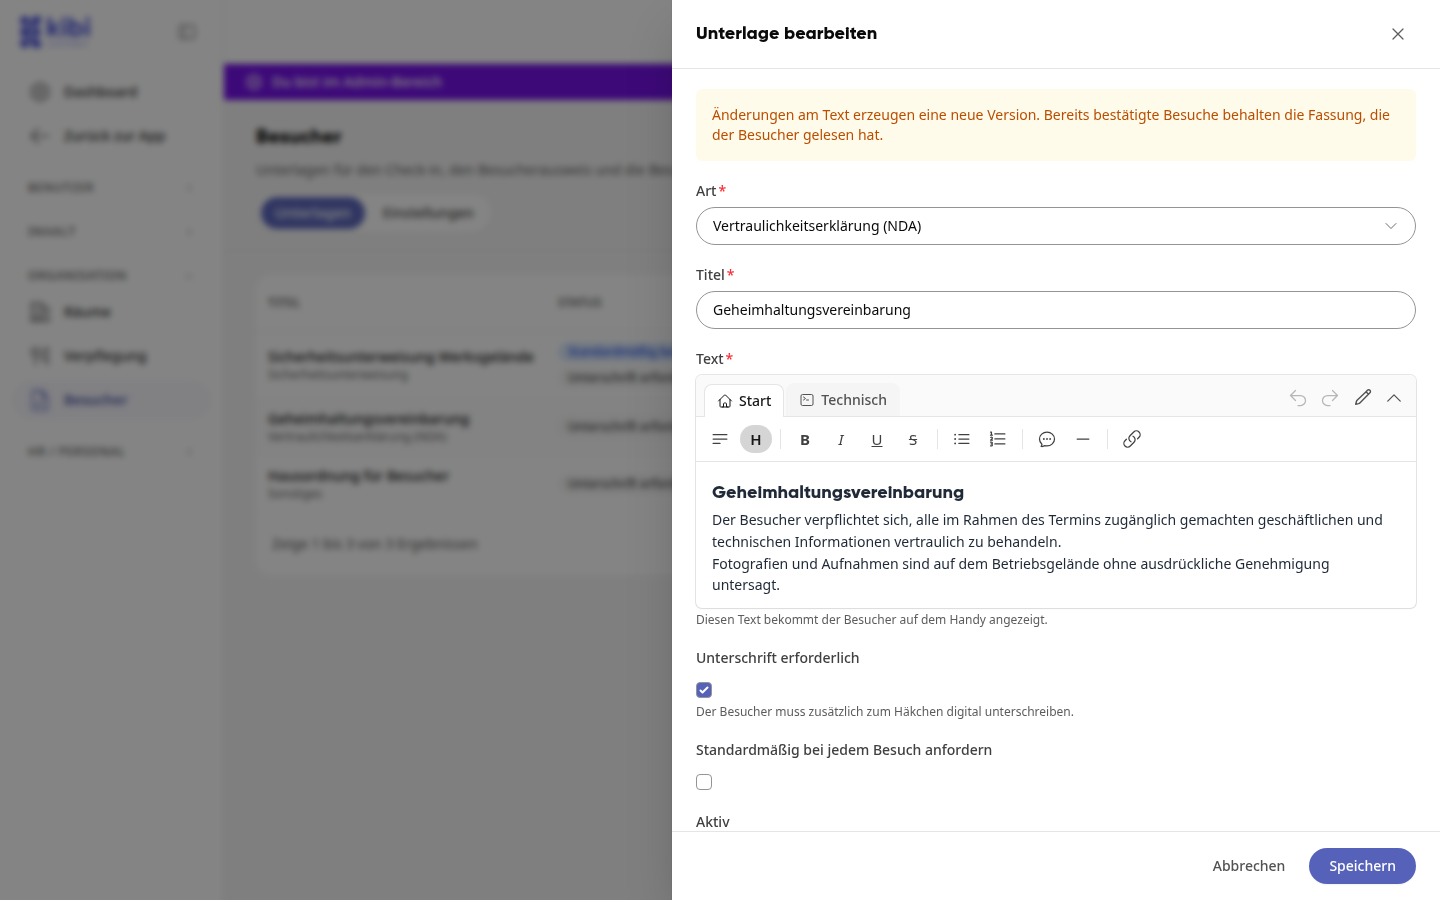
Make the necessary changes and click Save.
Info
Changes to the text create a new version, which the list increments in the Version column. Visits already confirmed retain the version the visitor read. For documents that have already been confirmed, this note is also displayed at the top of the form.
Delete document#
Click the three-dot menu in the document's row and then Delete.
Confirm with Confirm.
The document will no longer be offered for new visits. Confirmations already issued remain in the log.
Set ID format and visitor notes#
Both settings are in the Settings tab and are saved together.
Open Administration and then under Organization select Visitors.
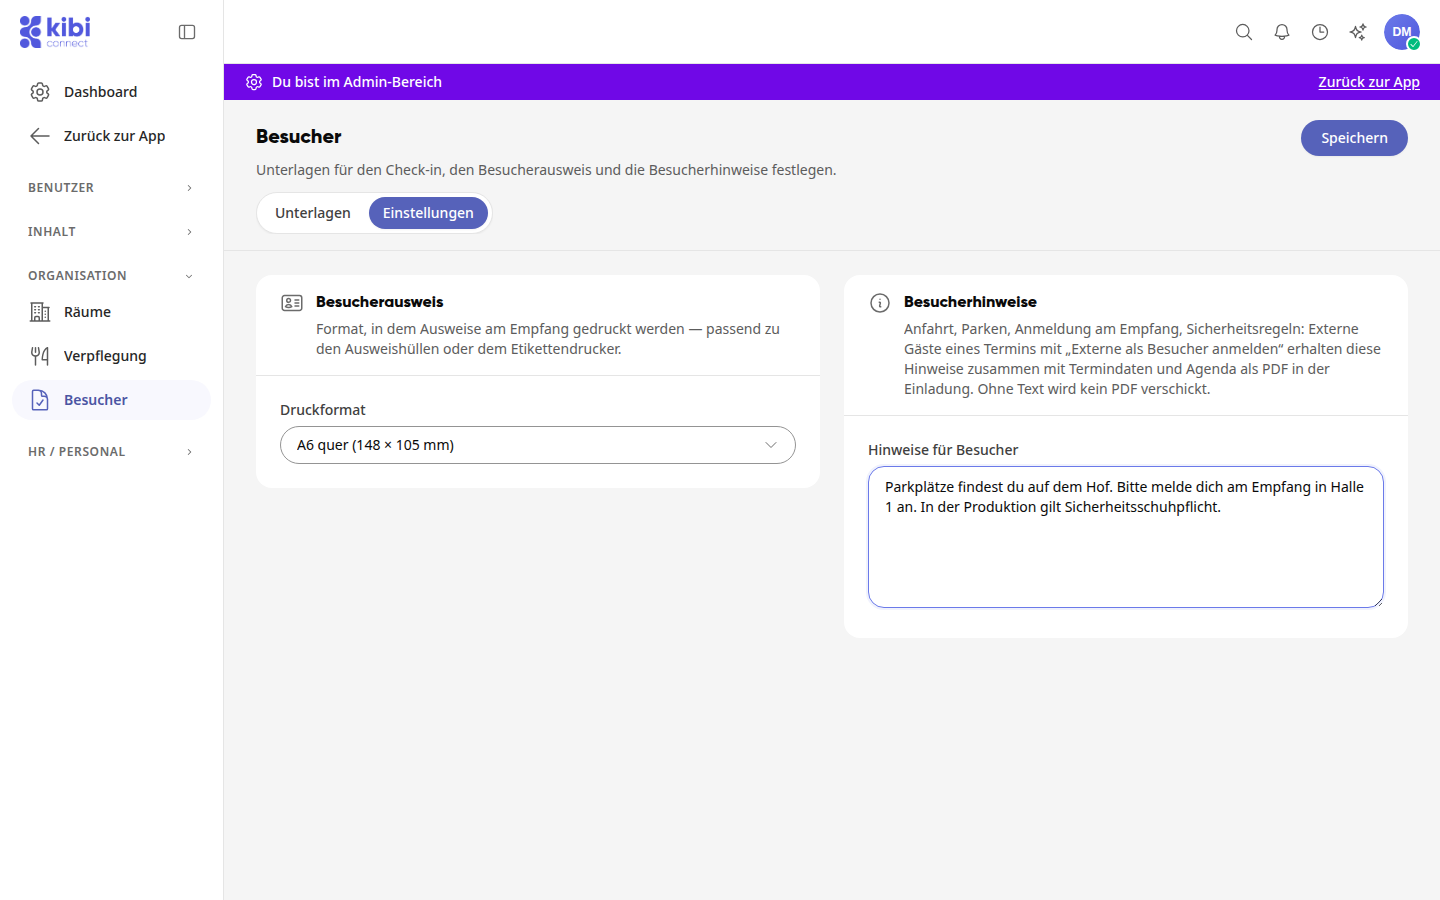
Click on the Settings tab.
Under Visitor ID, select the Print Format that matches your ID holders or label printer. Options include A7 landscape (105 × 74 mm), Durable VISITOR 97 × 86 mm, A6 landscape (148 × 105 mm), Credit card (85.6 × 54 mm), and Label (100 × 62 mm).
Under Visitor Notes, enter information such as directions, parking, reception registration, and safety rules in the Notes for Visitors field.
Click Save in the top right. The button will then display Saved.
Warning
Without clicking Save, your changes will not be applied. If you switch tabs before saving, Kibi Connect will ask Discard changes?. Select Continue editing to stay on the page.
External guests of an appointment with Register externals as visitors receive the notes along with appointment details and agenda as a PDF in the invitation. If no text is entered, no PDF will be sent.