How do I manage all the company's groups?
Updated Reading time: 1 min
On this page
In the administration, you can see all groups you are allowed to manage, including those in which you are not a member yourself. There you can edit groups, manage their members, archive, delete, and restore them.
Info
This function is available to HR managers and system administrators. HR managers see department and location groups here, while system administrators see all groups. In the platform itself, you still only see your own groups.
Open group list#
Click on Administration in the sidebar.
Under Users, click on Groups.
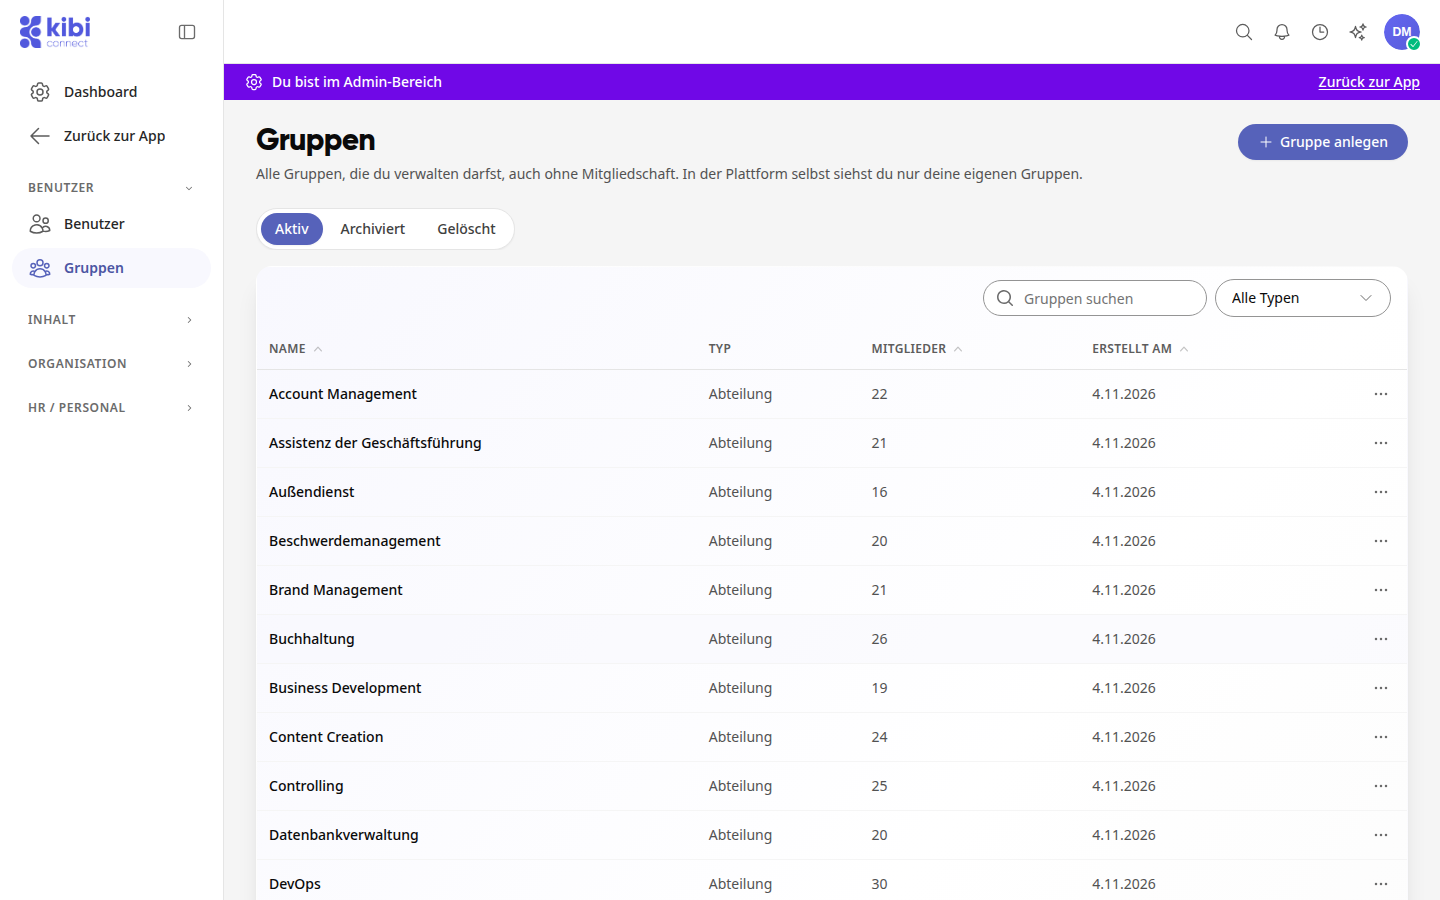
Use the Active, Archived, and Deleted tabs to switch between groups. Use Search groups and the All types filter to narrow down the list.
Edit group or manage members#
Click on the group's row. The menu with actions will open.
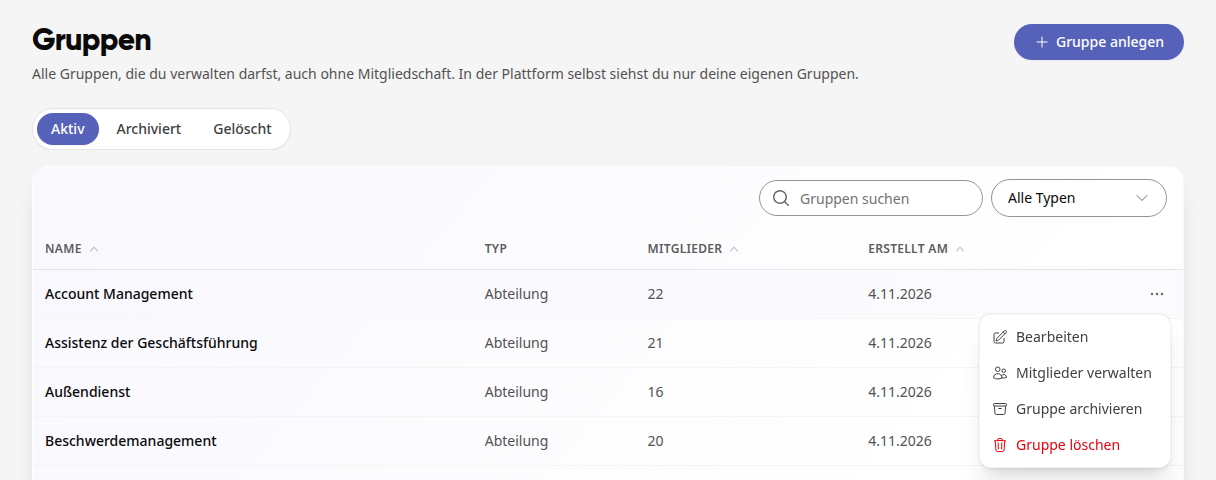
With Edit, you can change the name, type, visibility, membership, description, group image, and the active areas of the group.
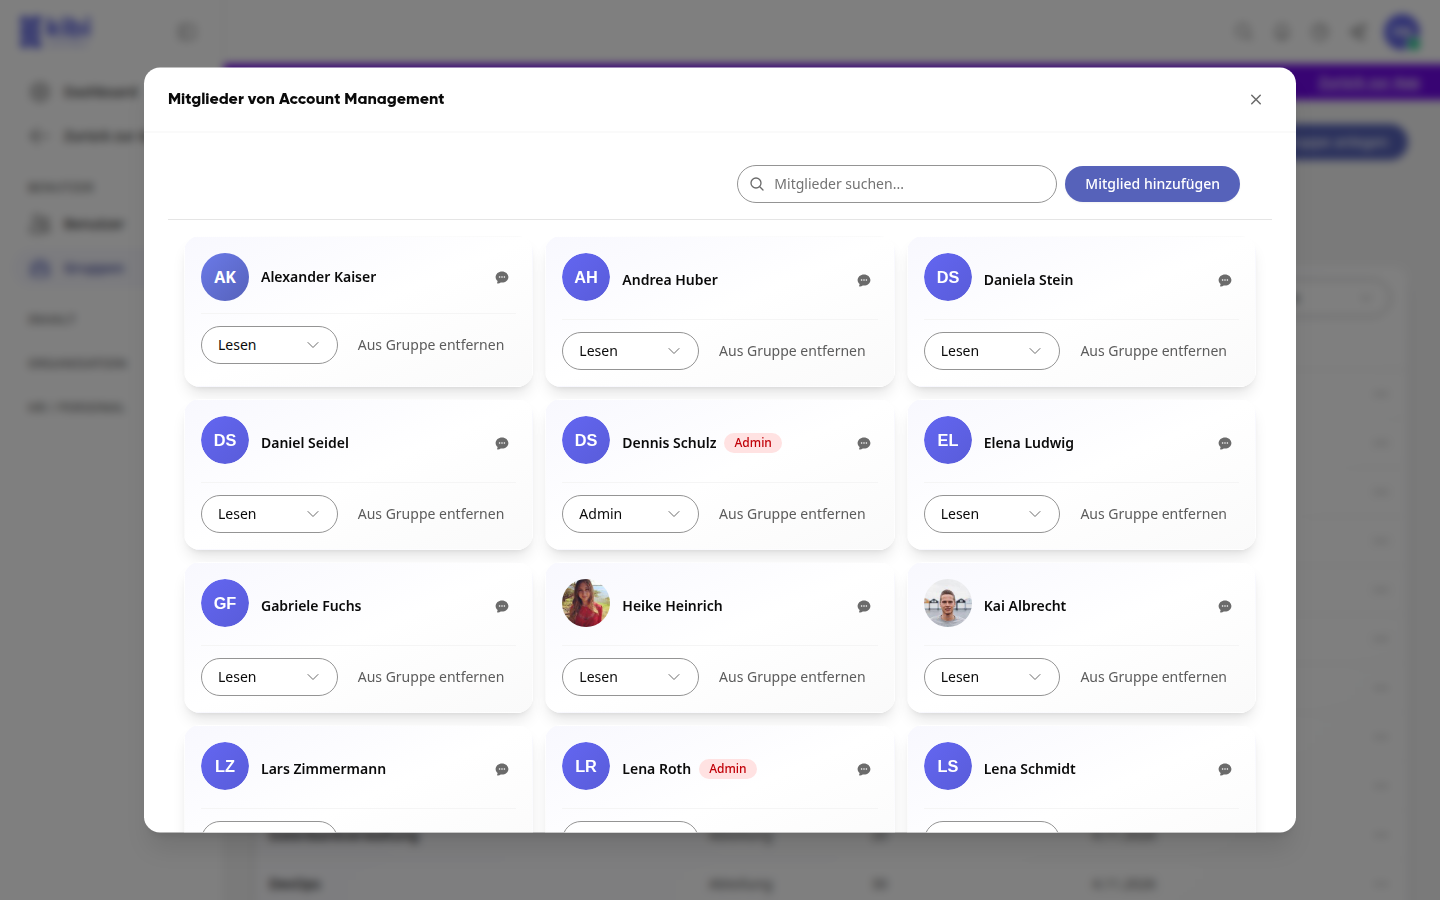
With Manage members, you open the group's members. There you can add people via Add member, change their role, or click on Remove from group.
Create a new group#
Click on Create group at the top right.
Enter the name and settings, as when creating a group in the platform.
Archive, delete, or restore a group#
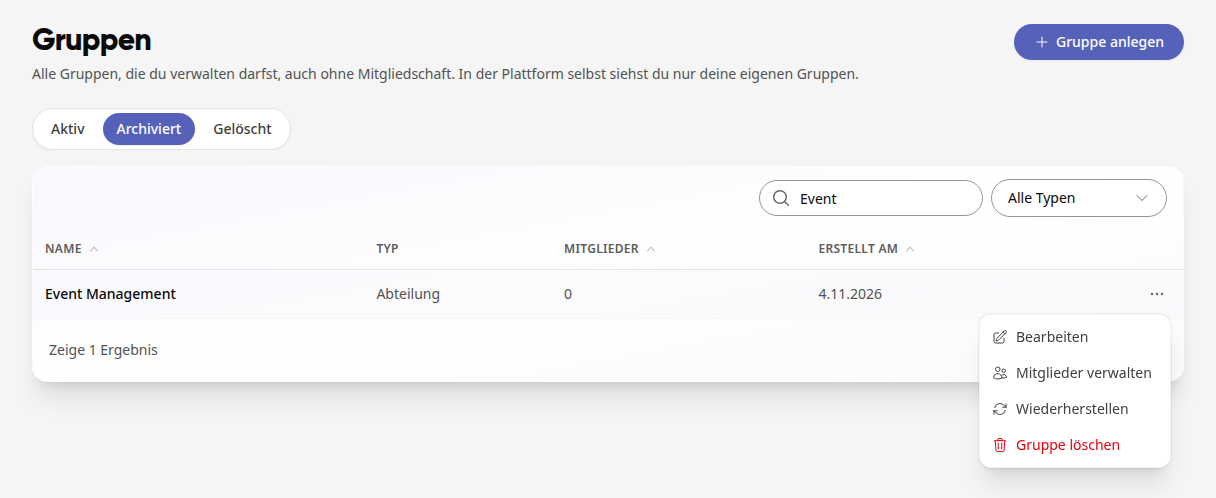
Click on the group's row and select Archive group or Delete group.
Confirm the prompt with Archive or Delete. The group will then appear under the Archived or Deleted tab.
To restore a group, open the Archived or Deleted tab, click on the row, and select Restore. Confirm with Restore.