How do I collaborate on a whiteboard?
Updated Reading time: 3 min
On this page
On a whiteboard, you capture processes and ideas as shapes, arrows, and text and collaborate with others. Here you create a whiteboard, share it, and use links, history, and Kai.
Info
Whiteboards are available to all employees. They are stored as files with the extension .kwb in the Files module.
Create a whiteboard#
Open Files and navigate to the desired folder, for example My Storage.
Click on Document in the top right.

Under Blank Document, select Whiteboard (.kwb).
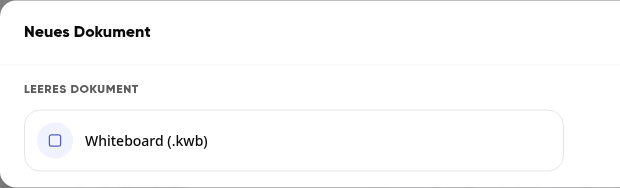
The whiteboard opens, and the name New Whiteboard is already selected. Type the name and press Enter.

You can change the name later using the pencil icon next to it. Use the arrow in the top left to go back.
Draw and label#
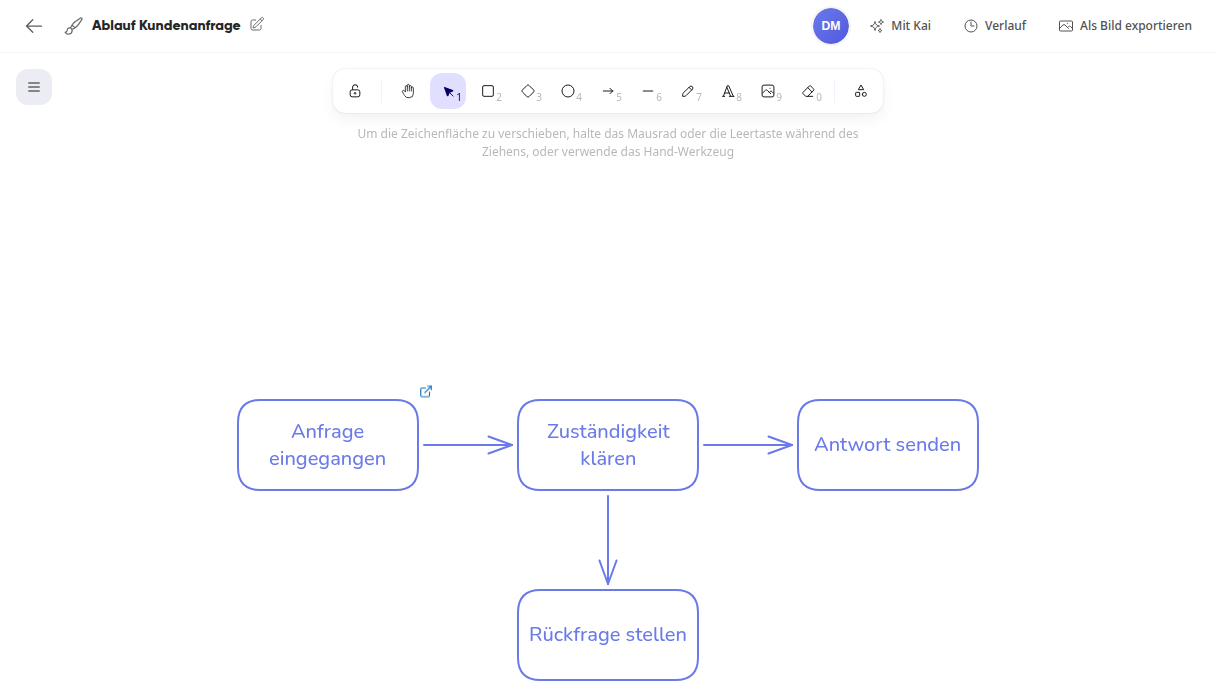
Select a shape in the toolbar, such as the rectangle, and drag it onto the canvas. Settings such as Stroke, Background, and Font Size appear on the left.
Just start typing while the shape is selected. The text will appear directly inside the shape.
Click on one of the plus signs around the selected shape. This creates an identical shape on this side, connected by an arrow. You can also label this one immediately.
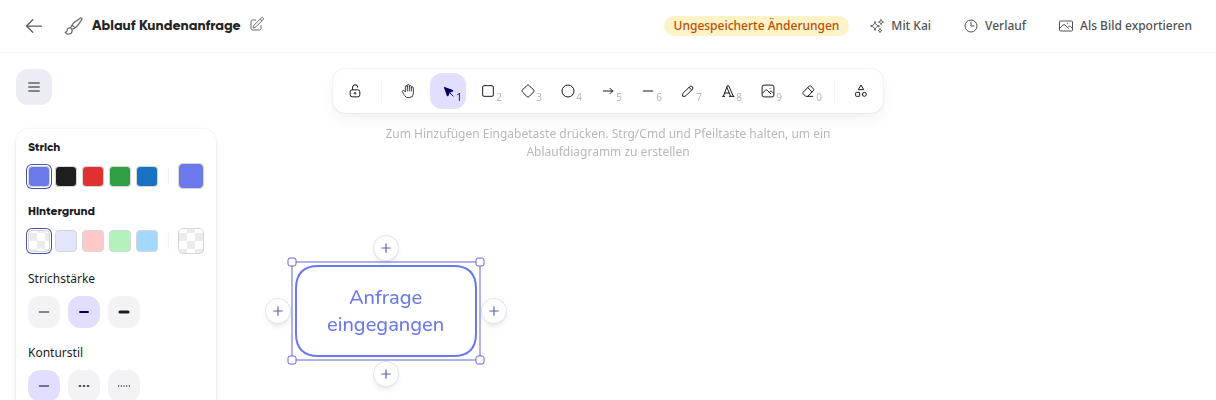
You don’t need to save manually: shortly after each change, the display at the top switches from Unsaved Changes to Saved. Use Ctrl+Z to undo a step.
Tipp
Right-click on the canvas to open additional commands, such as Show All if you’ve lost track.
Share whiteboard#
Go back to Files and right-click on the whiteboard.
Select Share.
Under Via Invitation, search for the person and select either Edit or View under Permission.
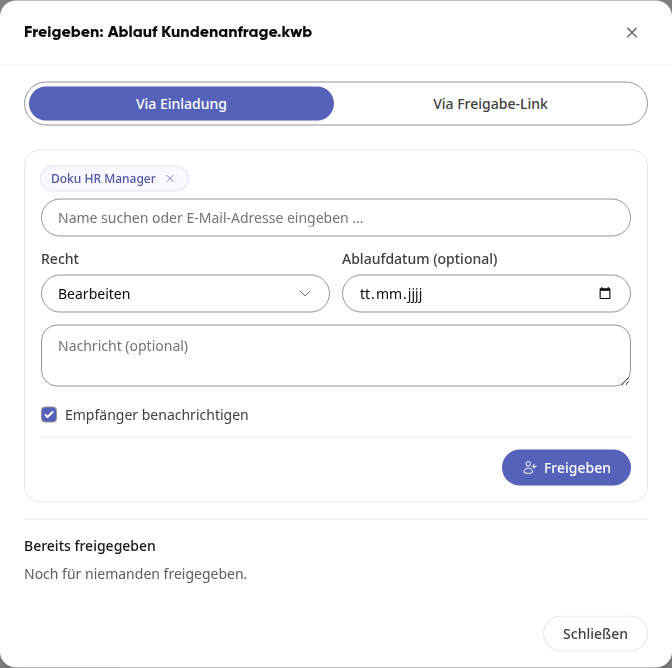
Click on Share. Under Already Shared, you can change the permission later.
The person will find the whiteboard in Files under Shared with Me. Clicking it first opens the preview; from there, they can proceed via Edit Whiteboard. If they only have View permission, they will see View Only at the top and cannot make changes.

Collaborate#
If another person opens the whiteboard, their profile picture appears at the top. Hovering over it with the mouse shows their name. Changes made by others appear automatically on your whiteboard as soon as they are saved.
Info
You won’t see other users’ mouse pointers, and changes only appear for you after they are saved.
Link to other content#
Right-click on a shape and select Link….

Search for a wiki page, group, person, task, or file and click on the result.
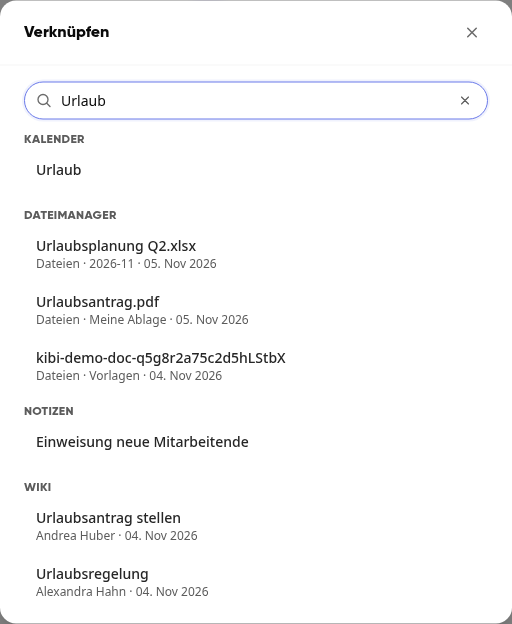
A small link icon appears on the shape. Clicking it opens the linked content directly in the platform. Right-clicking on the free space allows you to insert your own card via Insert Link….
Place files#
Drag a file from your file system onto the canvas. It will be uploaded to the whiteboard’s folder. A PDF file appears with its pages on the whiteboard and is linked to the file.
Continue with Kai#
Click on With Kai at the top. A column opens on the left where you can tell Kai what to do. Kai knows the content of the whiteboard and suggests tasks such as Create Tasks, Write Wiki Page, or Create Presentation.
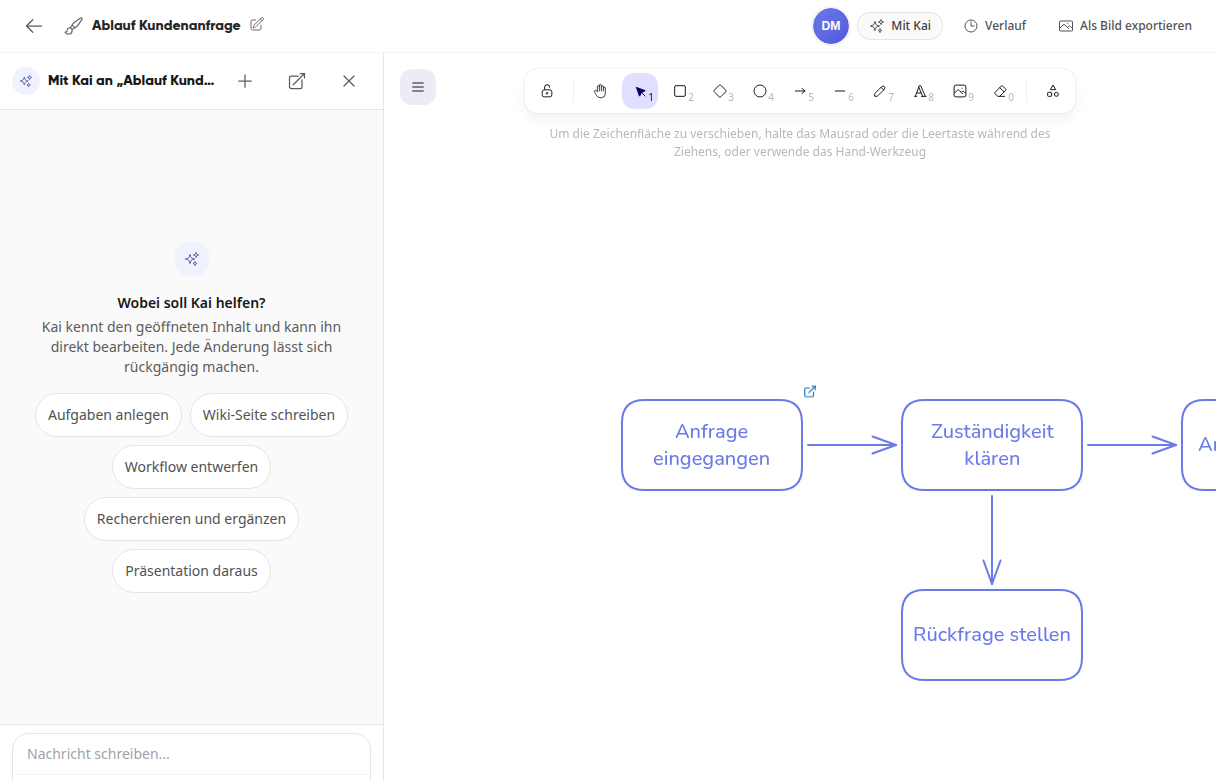
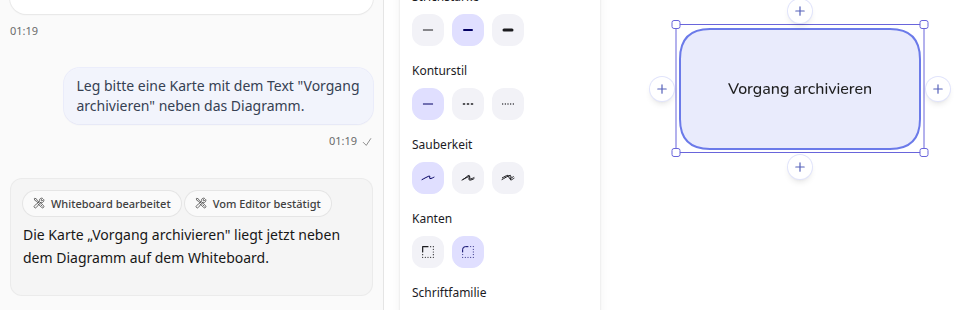
For example, if you ask Kai to place a card next to the diagram, it appears directly on the whiteboard.
Tipp
Read Kai’s response and look at the whiteboard. If something doesn’t work, Kai will mention it in the response, and you can rephrase your request.
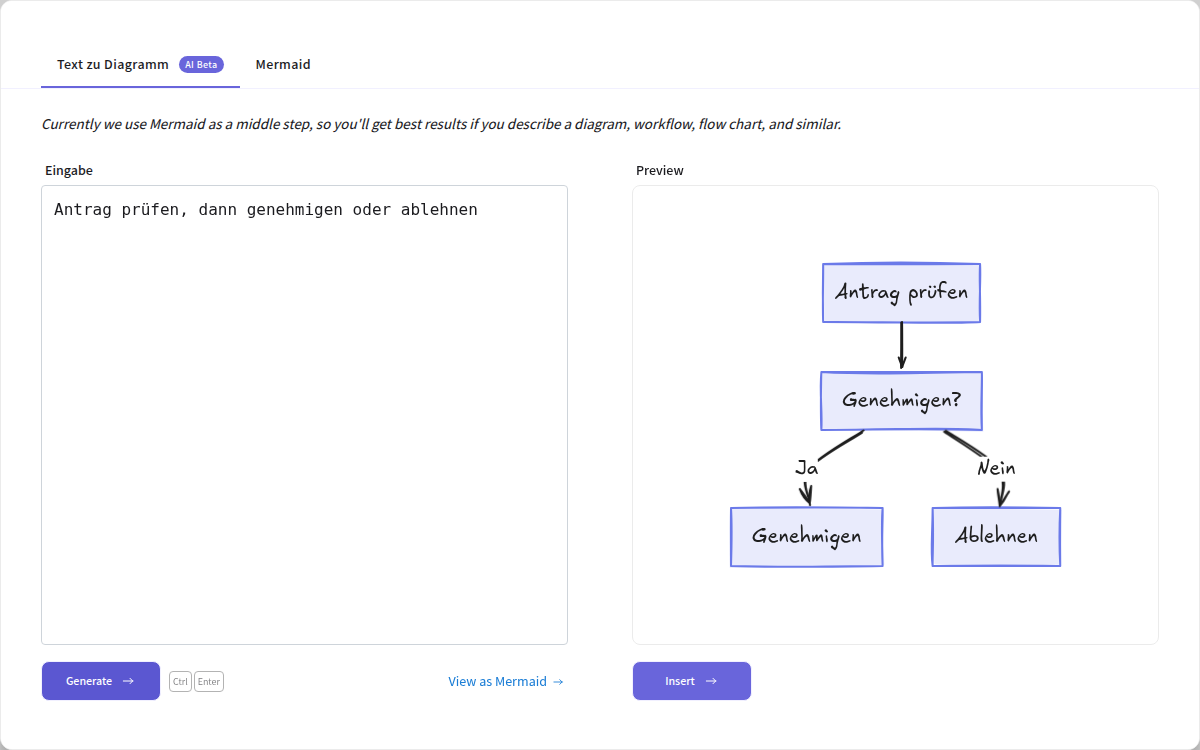
Kai can also draw a diagram from a description:
Right-click on the free space and select Text to Diagram with Kai….
Describe the process under Input and click on Generate.
If the preview looks good, add the diagram with Insert.
Restore an older version#
Click on History at the top. The Version History opens on the right with a preview of each version.
Click Restore on the desired version.
Use Ctrl+Z to undo this immediately. A new version is not created with every save, but rather when drawing resumes after a ten-minute pause or before restoring an older version.
Export as image#
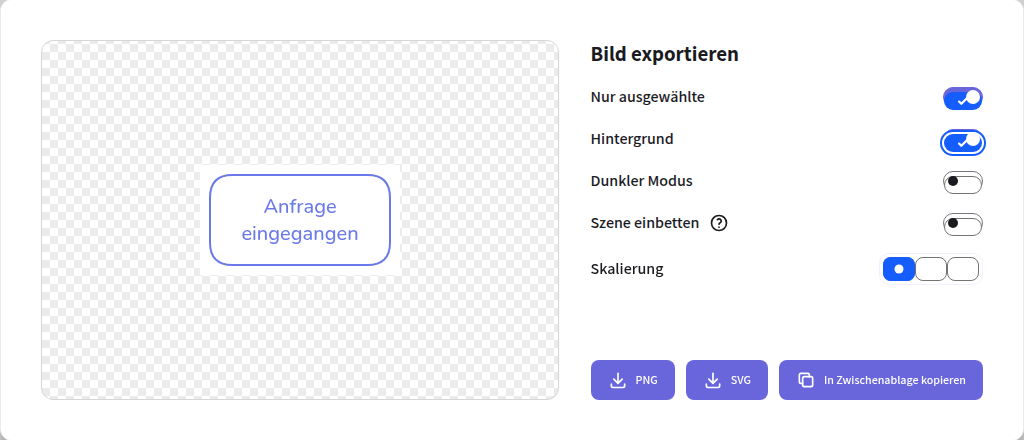
Click on Export as Image at the top.
Set what should be included, such as Background. If you have previously selected something, Selected Only limits the image to that.
Click on PNG or SVG, or on Copy to Clipboard.