
How do I file documents for an event?
Updated Reading time: 3 min
On this page
You provide participants with directions, slides, or handouts directly at the event and specify per file who can see them and from when. What only the organization needs, such as quotes or drafts, is stored in a separate folder that only organizers can see.
Info
Anyone who created the event or is listed in the event's organization can manage documents. As an employee, you do not need a special role for this: it is sufficient if the organization adds you under the Master data tab in the Organization section.
Upload documents#
Click on Events in the menu and open the event.
Click on Manage at the top right and then on the Files tab.
Make sure that Documents is selected at the top.
Click on Add attachment and select one or more files, or drag them into the field. For example, PDFs, Office documents, images, and videos are possible.
Each file will then appear in the list with a note indicating who uploaded it and when. The number next to the Files tab shows how many files the event has.
Specify who sees a document and from when#
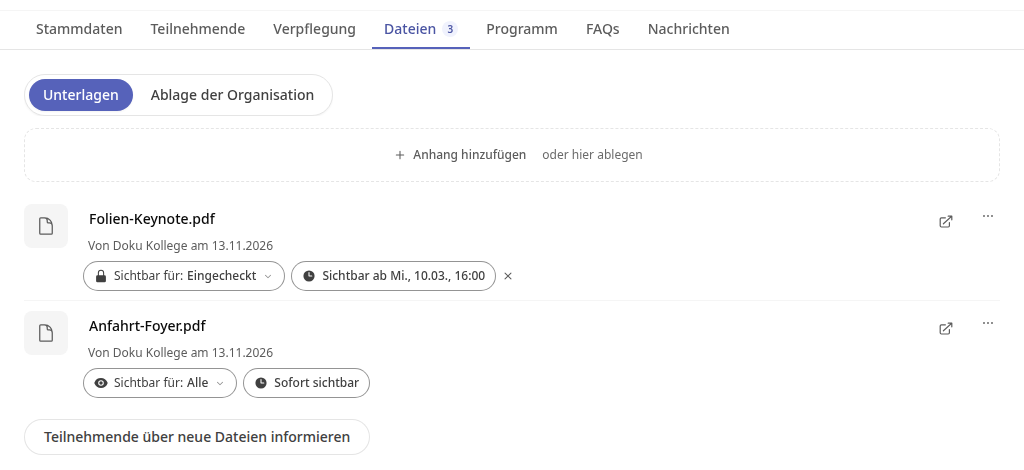
Under each document there are two buttons:
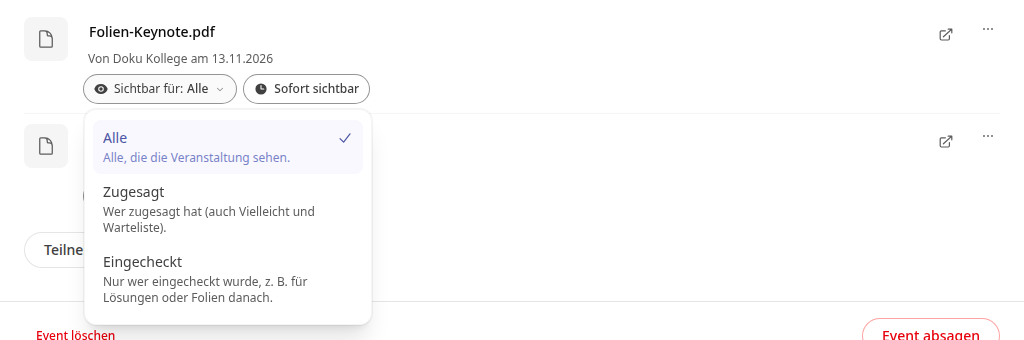
Click on Visible to and select:
Everyone: all who see the event.
Accepted: those who have accepted, including those with "Maybe" and on the waiting list.
Checked in: only those who were checked in at the event, for example for solutions or slides afterwards.
If the file should only appear later, click on Visible immediately and enter the date and time. The button will then show, for example, "Visible from Wed., 03/10, 4:00 PM". With the cross next to it, you make the file visible immediately again.
The changes are saved immediately.
Tip
This way, you can upload the slides of a presentation in advance and only release them to those checked in after the presentation.
Inform participants about new documents#
New files are not announced automatically. Upload everything first, then click once on Inform participants about new files. Those who were there will also receive a thank-you.
Organization Storage#
For files that only the organization team needs, such as quotes, participant lists, or drafts, there is a separate storage area.
In the Files tab, click on Organization Storage at the top.
Upload the file via Add attachment.
If a file should be shared with participants, click on … next to it and then on Share as document. Use Remove to delete it from the storage.
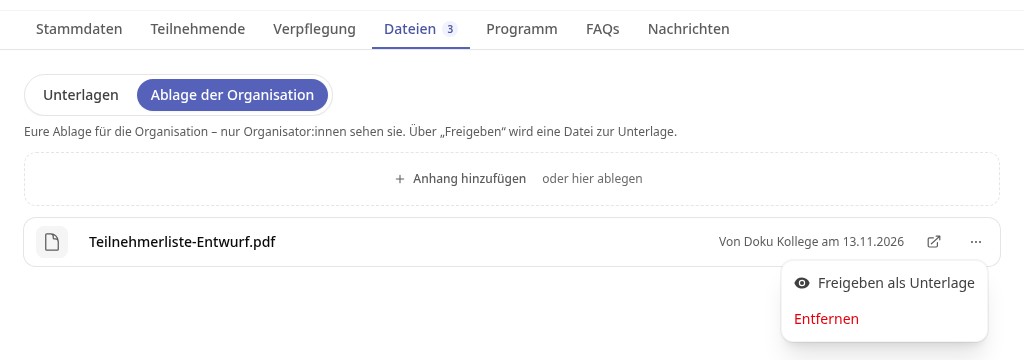
Conversely, you can move a document back to the storage via … and To organization storage.
Info
If the document editor is set up for you, you will also find the New document button in the storage. This allows you to create a text document, a spreadsheet, or a presentation directly there and edit them in the editor.
This is how participants see the documents#
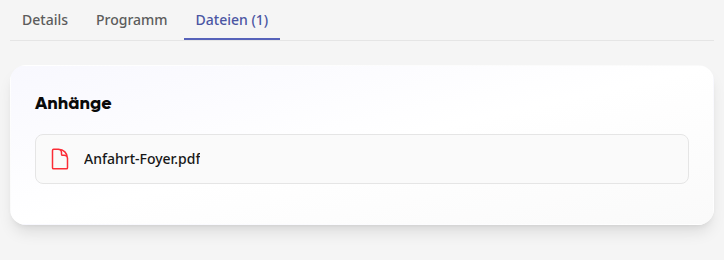
On the event page, there is the Files tab with the number of files that the respective person is allowed to see. Attachments lists exactly these files. A document only for checked-in attendees or with a later date only appears when both conditions apply. Participants never see files from the organization's file storage.
Documents that you have linked to a program item also appear directly under that item in the program.
Info
You do not collect event photos here, but in the gallery. To do this, enable the Participants may upload photos toggle in the Master data tab under Settings: Then everyone who has confirmed can add their photos in the Review tab on the event page.