
How do I check registrations and process information and deletion requests?
Updated Reading time: 3 min
On this page
In the Audit section of the administration, you can see who logged in when and what changes were made in the administration. You also handle GDPR requests here: you export a person's data or permanently delete a deleted account.
Info
This function is available to system admins.
Open Audit#
Open the administration.
In the navigation under System, click on Audit.
At the top, select one of the tabs: Admin Log, Login Log, Access as Person, or Information and Deletion.
Track changes in the administration#
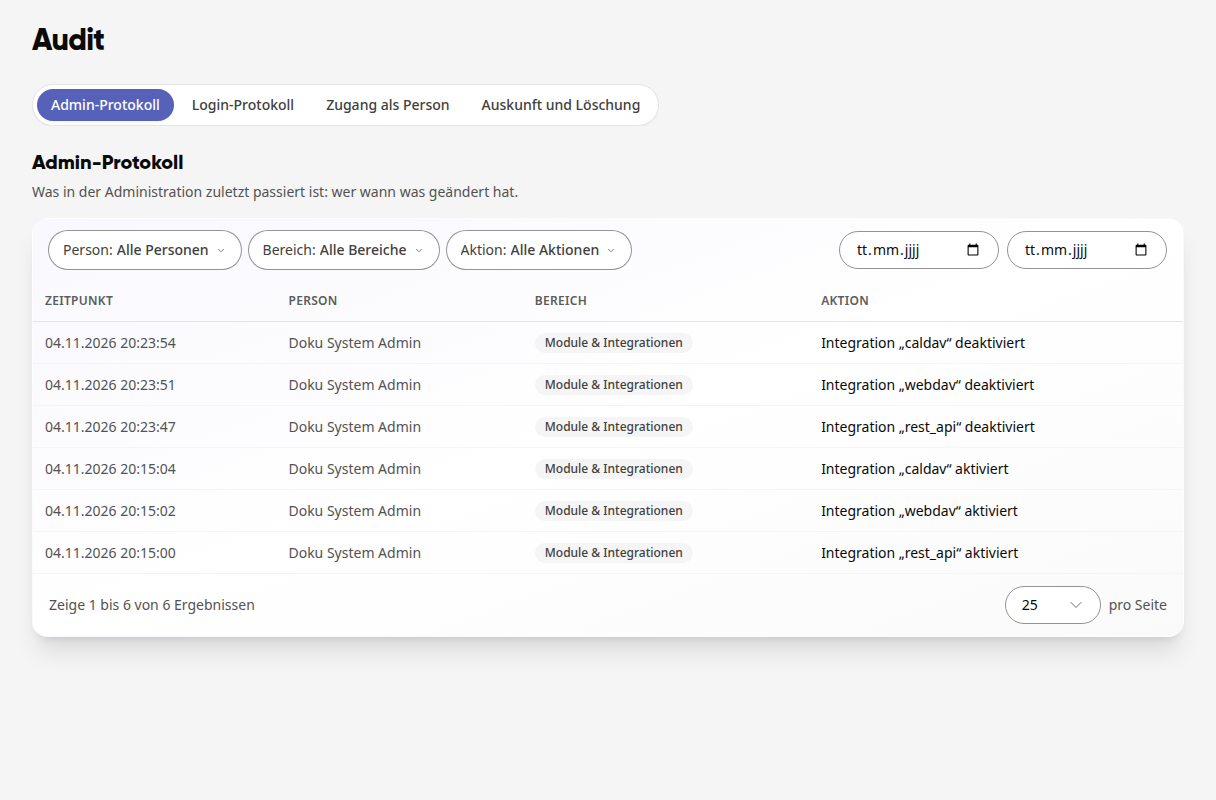
The Admin Log tab shows what has recently happened in the administration: who changed what and when. Each line lists the timestamp, person, area, and action.
Narrow down the list using the filters Person, Area, and Action.
If needed, select a time period on the right using the two date fields.
Check logins#
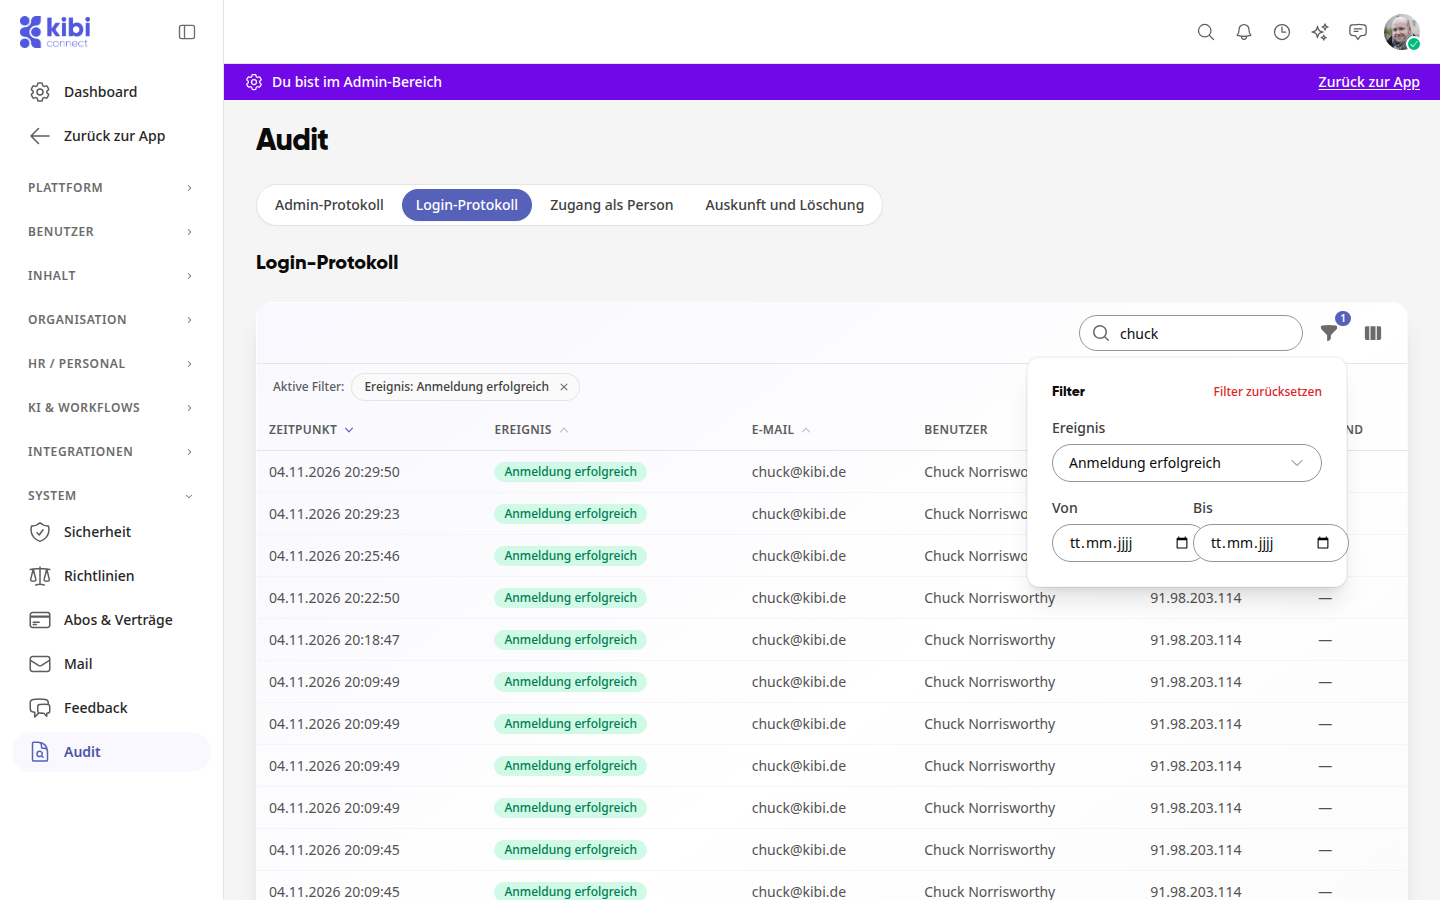
The Login Log tab lists every login, logout, and login attempt with timestamp, event, email, user, IP address, and reason.
Enter an email address, name, or IP address in the search field.
Click the filter symbol and select under Event, for example, Login successful or Login failed.
Limit the time period with From and To. Active filters are displayed above the table; use Reset filters to remove them.
Tip
Using the column symbol next to the filter, you can show or hide columns. Multiple consecutive failed logins may indicate a forgotten password or an attack attempt.
View logins as a person#
The Access as Person tab shows requests from system admins to log in with a person's account. Each of these logins requires the person's approval. You can make a request on the person's page via … → Log in as person.
Export a person's data (Information according to GDPR)#
Open the Information and Deletion tab and click on Export data.
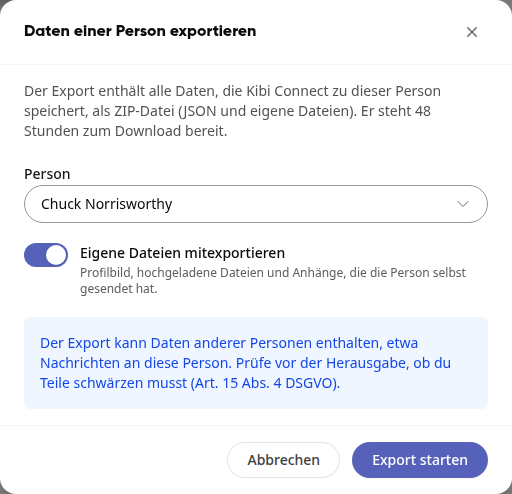
Under Person, select the person. You can search by name or email address.
Keep Include own files enabled if profile picture, uploaded files, and self-sent attachments should be included.
Click on Start export.
The export appears in the list, initially with the status Waiting. Once it is Ready, the Result column shows the number of records and files. Click Download to save the ZIP file.
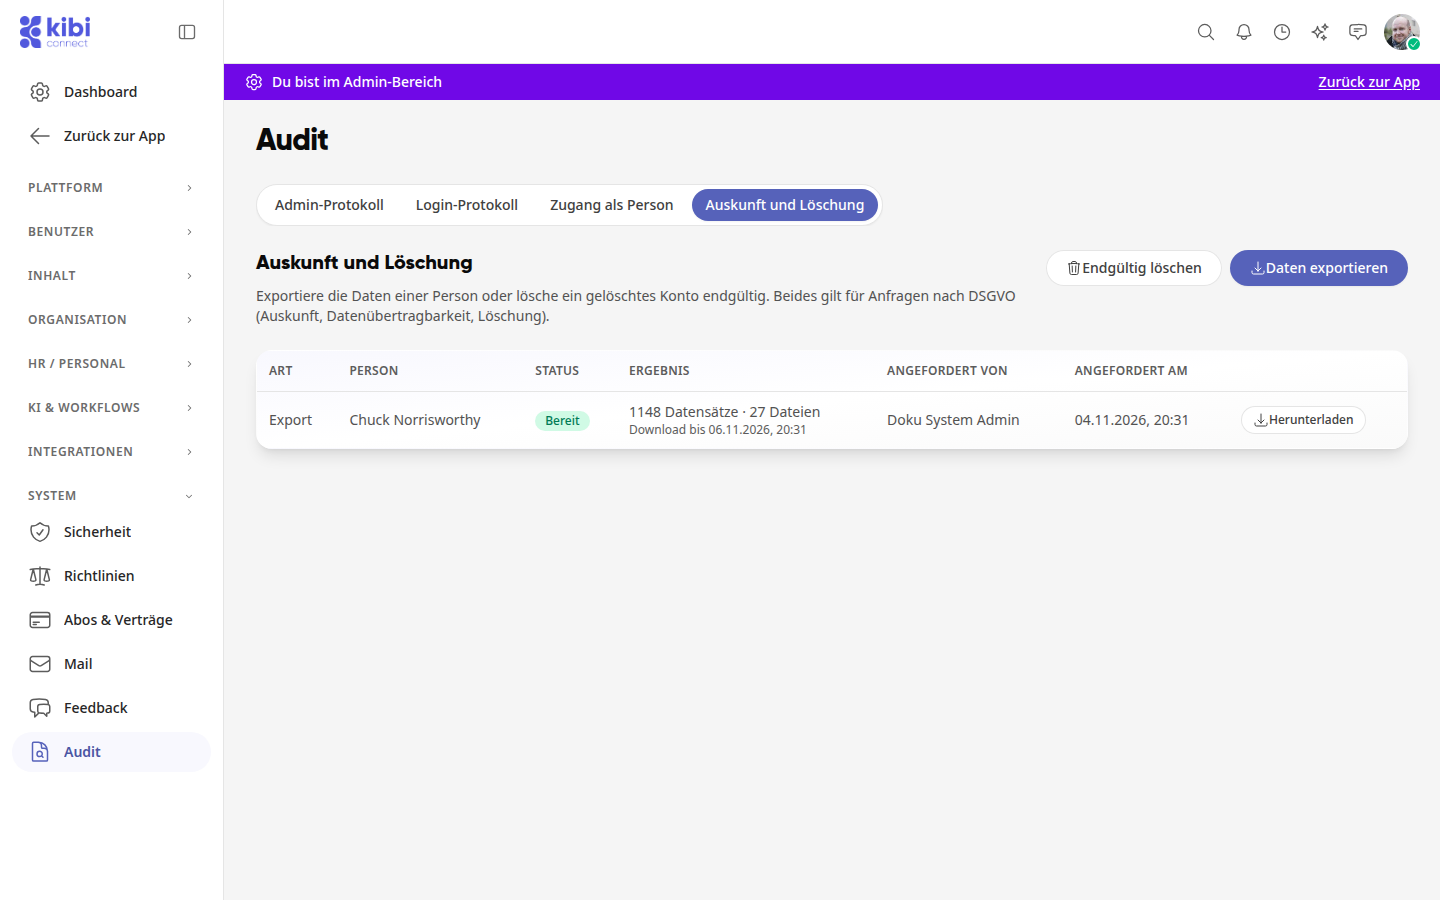
The export contains all data that Kibi Connect stores about the person as a ZIP file with JSON and the person's own files. It is available for download for 48 hours.
Warning
The export may contain data from other people, such as messages to that person. Before releasing it, check if you need to redact parts (Art. 15 (4) GDPR).
Permanently delete an account#
You can only permanently delete accounts that have already been deleted. So first delete the account in user management.
In the Information and Deletion tab, click on Permanently delete.
Select the deleted account.
Read what will be deleted and what will remain without names.
Keep Retain personnel number enabled if stored working time and payroll data should continue to be assignable.
Click on Permanently delete.
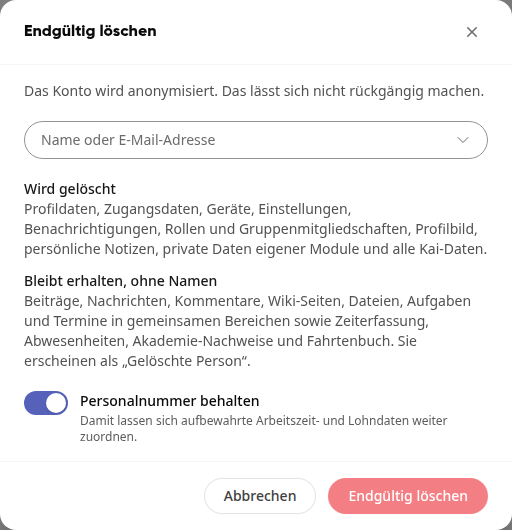
Deleted items include profile data, access data, devices, settings, notifications, roles and group memberships, profile picture, personal notes, private data from own modules, and all Kai data. Posts, messages, comments, wiki pages, files, tasks, and appointments in shared areas as well as time tracking, absences, academy certificates, and logbook entries remain and appear as "Deleted Person".
Important
Permanent deletion anonymizes the account and cannot be undone. You cannot permanently delete your own account or the account of the owner.