
How do I offer appointments to external people via a booking page?
Updated Reading time: 3 min
On this page
With a booking page, you get a personal appointment link. You set when you are available and share the link with customers, applicants, or partners. They choose an available appointment themselves, without needing an account on the platform, and the appointment automatically lands in your calendar.
Create a booking page#
Open the Calendar and click on Manage calendars at the bottom of the sidebar.
Switch to the Booking pages tab and click on New booking page.
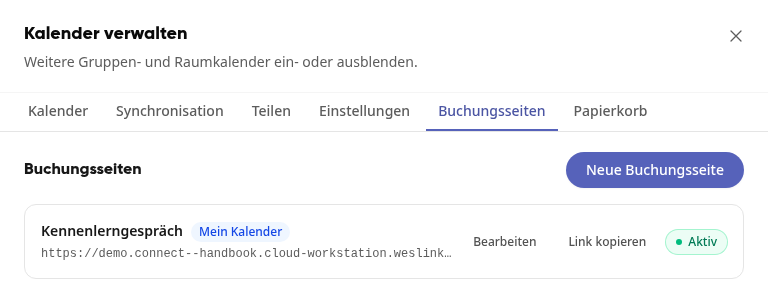
In the General tab, enter a Title, for example "Introductory meeting". It appears at the top of the public page. Under Description, you can explain what the appointment is about.
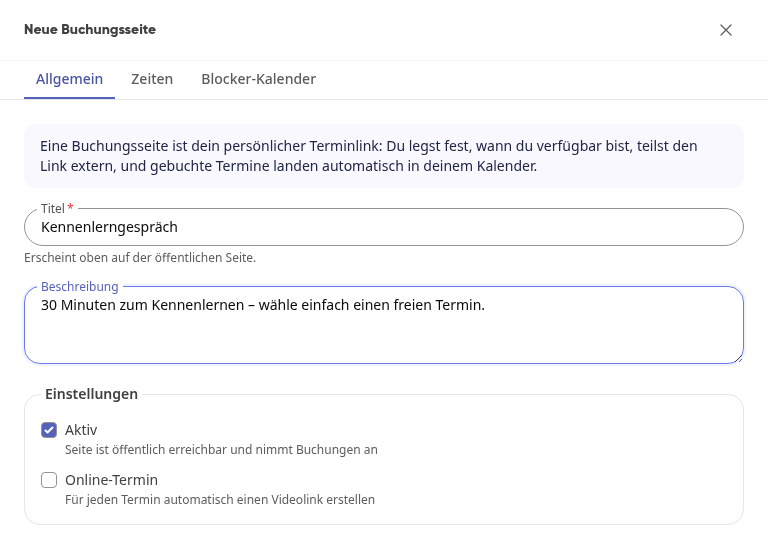
Leave Active enabled so the page accepts bookings. Turn on Online appointment if a video link should be automatically created for each booked appointment.
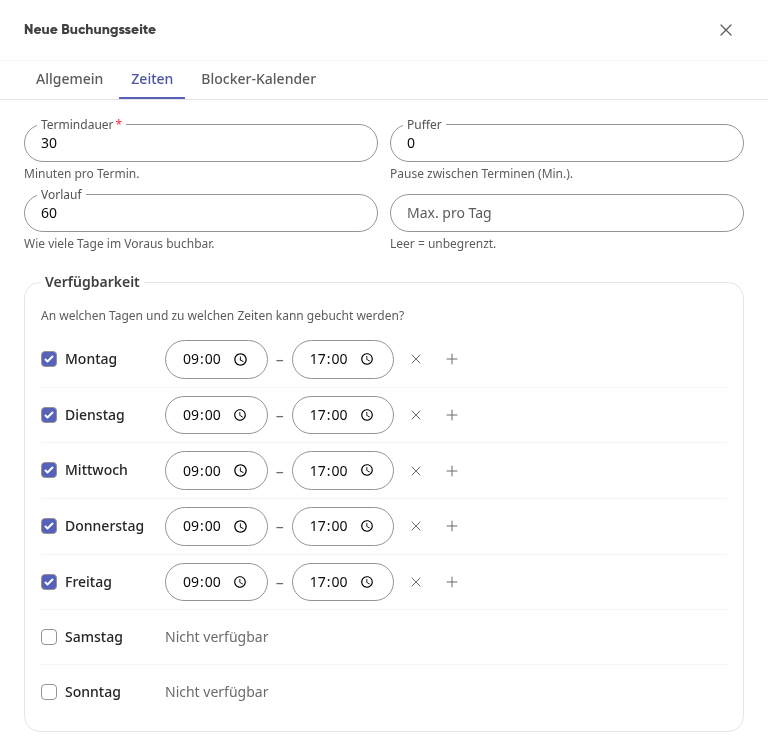
In the Times tab, set how long an appointment lasts and when bookings can be made: Appointment duration in minutes, a Buffer pause between two appointments, the Lead time (how many days in advance bookings can be made), and under Max. per day a limit for bookings per day (empty means unlimited). Under Availability, check the weekdays and enter the times; use + to add another time slot to a day, and × to remove one.
Click on Create booking page. Saved appears at the top.
Info
If there is already an appointment in your calendar, this time slot is automatically not bookable on the booking page.
Add additional calendars as blockers#
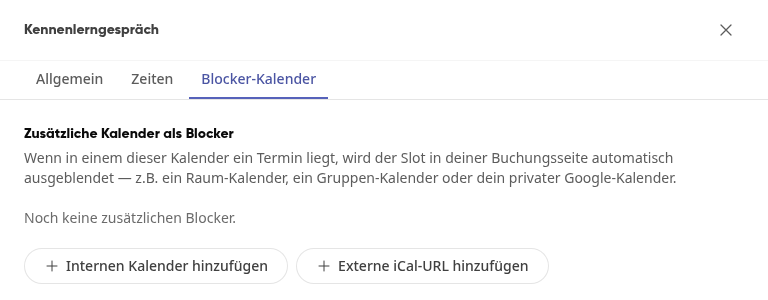
After saving, you can specify additional calendars in the Blocker calendars tab whose appointments block time slots, for example a room calendar, a group calendar, or your private Google calendar.
Open the booking page via Edit and switch to the Blocker calendars tab.
Click on Add internal calendar and select a person or a group, or click on Add external iCal URL and paste the link of another calendar.
Share link#
In the Booking pages tab, click on Copy link next to your booking page.
Send the link by email, add it to your signature, or place it on your website.
With Open public page at the bottom of the booking page, you can see the page as your guests see it. Use the Active toggle in the list to temporarily take a page offline without deleting it.
How your guest books an appointment#
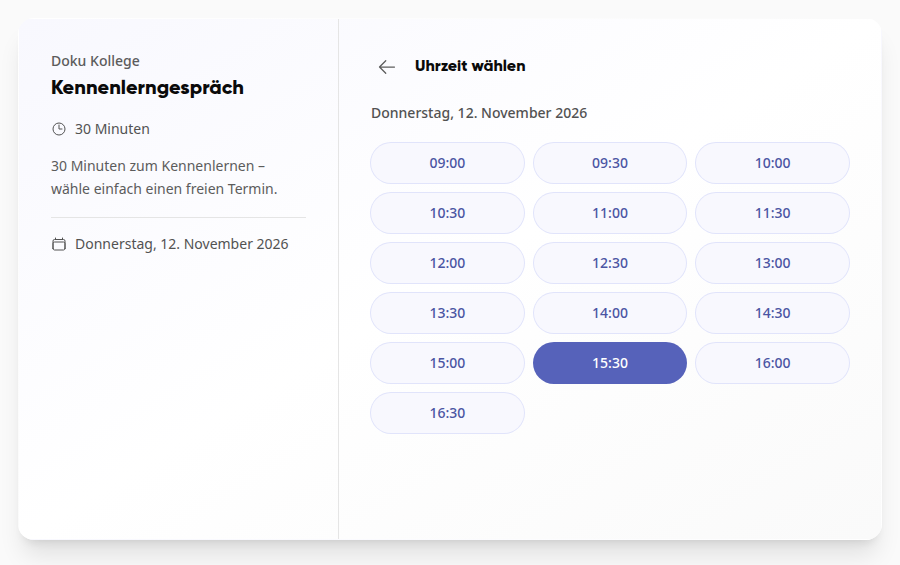
Your guest opens the link, selects a day under Select date and then an available time slot.
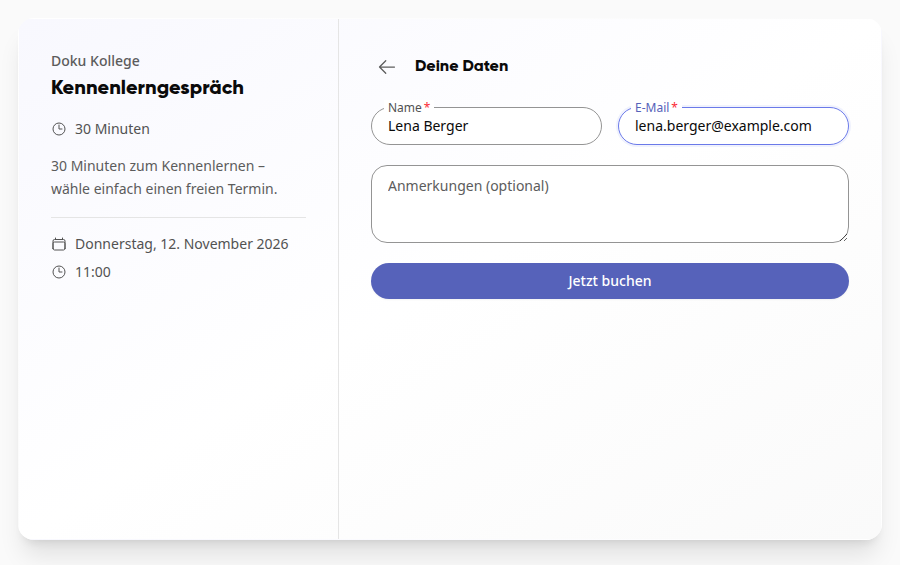
Under Your details, they enter Name and Email, optionally also Notes, and click on Book now.
They see Appointment booked! and receive a confirmation email. Via the link in the email, they can also cancel the appointment.
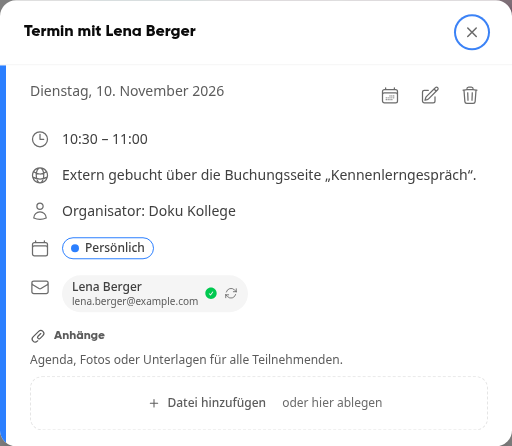
The appointment immediately appears in your calendar, with the guest as participant and the note indicating which booking page it was booked through.
Booking Pages for Rooms#
In addition to your personal booking page, your company may have booking pages for rooms through which external guests can request a room. These pages are set up by the room administrators in room management.
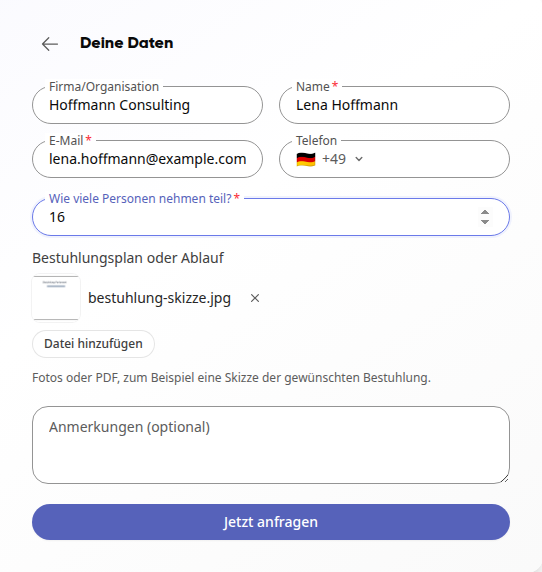
On a room booking page, the guest enters Company/Organization and Phone under Your Data and answers the questions stored for the room. If the room requests documents, the guest uploads photos or PDFs via Add file, for example a seating plan. If room administrators must confirm bookings, the button is labeled Request now, and the guest then sees Request sent!.
Tip
If you are an admin of a group, New booking page asks you whether the page should apply to you or to the group. A group booking page adds the booked appointments to the group calendar.