
How do I manage posts in the administration?
Updated Reading time: 2 min
On this page
In the administration, you see all posts on the platform in a table, including those of other people. You can quickly find posts using search and filters, export them as a list, and restore deleted posts.
Info
The table is available to the Content Manager role and System Admins. With the Content Manager role alone, you can view, search, filter, and export posts. To edit, delete, and restore, you also need the News Creator role. Only System Admins may permanently delete. You can only edit posts in a group if you have the group role Admin or Collaborate there.
Open the contributions table#
In the administration, click on News in the Content area.
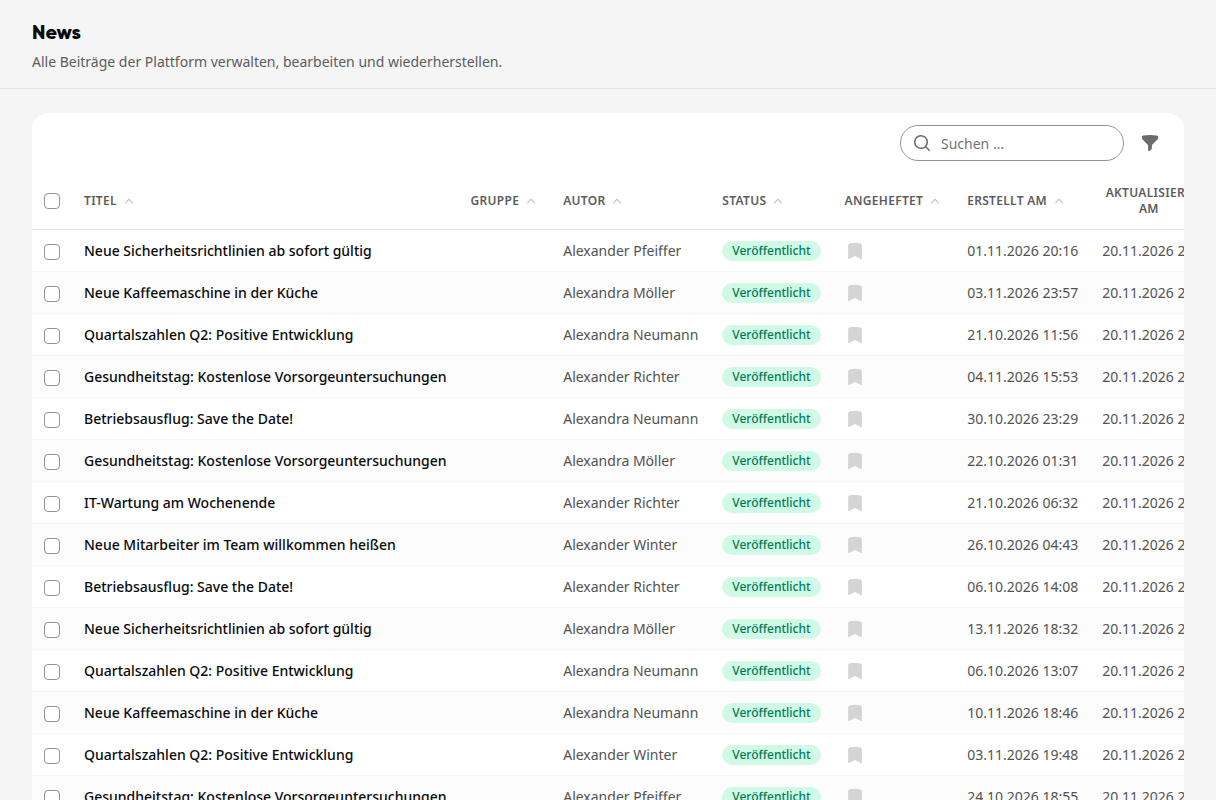
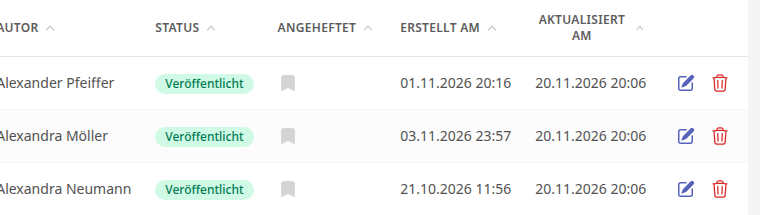
The table shows for each contribution Title, Group, Author, Status, whether it is Pinned, as well as Created on and Updated on. Click on a column header to sort by it.
Searching and filtering posts#
Enter part of the title in the Search … field.
Click the filter icon to the right of it. You can filter by Author, Status (Draft, Published, Archived), and Pinned.
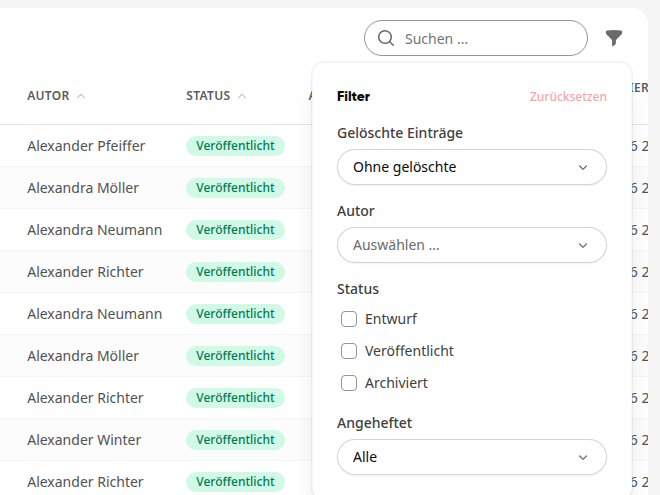
Active filters are displayed above the table under Active Filters. Use Reset in the filter to remove them all at once.
Export posts#
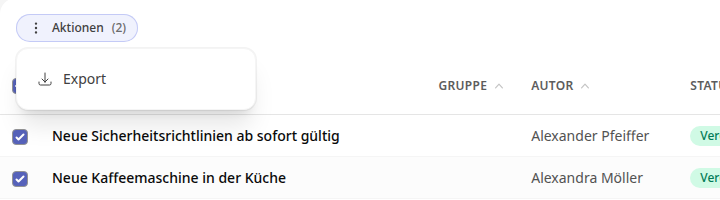
In the table, check the posts you want to export. Using the checkmark in the header row selects all posts on the page.
Click Actions at the top left and select Export.
Select the format XLSX, CSV, or PDF, adjust the file name if needed, and decide which columns should be included in the file.
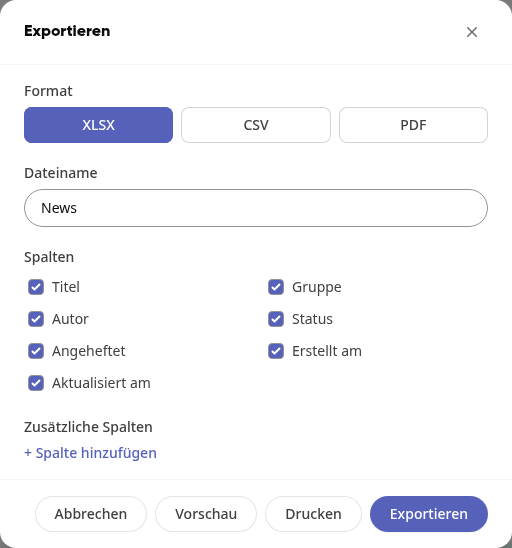
Click Export. The file is downloaded and you see the message "Export created." Use Preview to check the list beforehand, and Print to print it directly.
Edit a post#
Click on the pencil icon (Edit) on the right side of the post's row.
In the Edit post window, change the title, text, visibility, status, image, or media. Here you also set the Author and pin the post to the top of the feed using Pin post to top of feed.
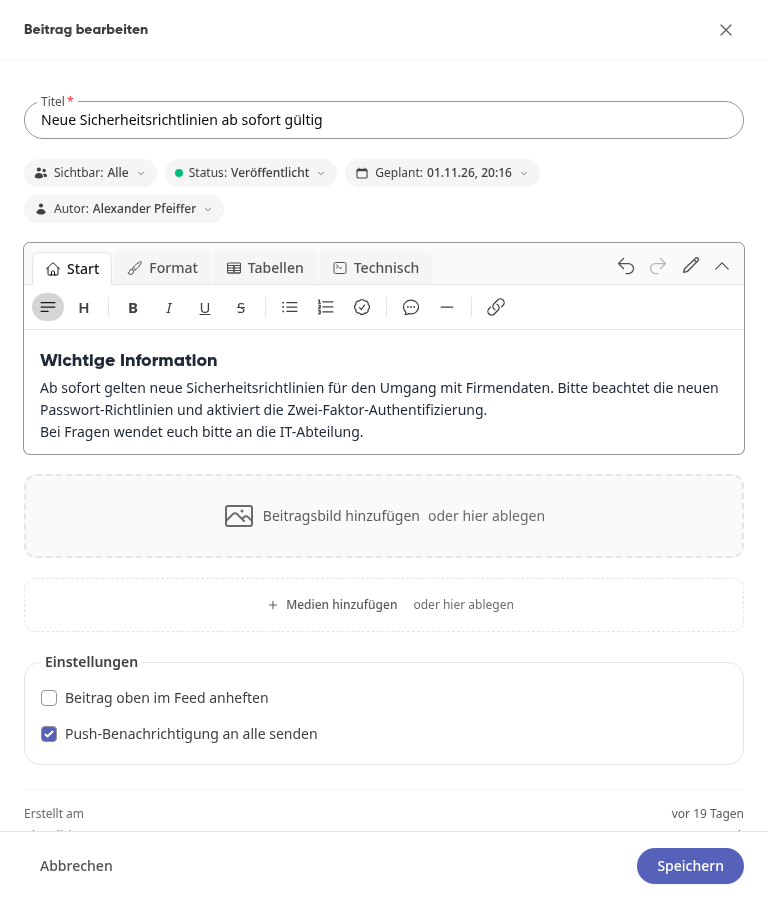
Click on Save.
Deleting and restoring a post#
Click the trash can icon (Delete) in the row of the post.
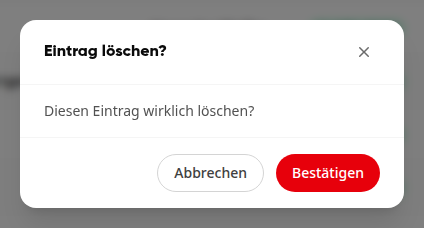
Confirm the prompt "Delete entry?" with Confirm. The post disappears from the feed and from the table.
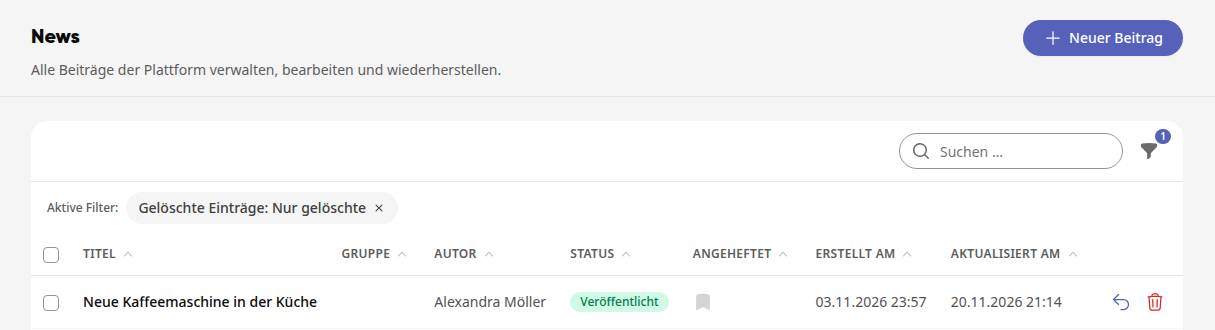
To restore it, open the filter and set Deleted entries to Only deleted (or With deleted).
Click the curved arrow (Restore) in the row and confirm with Confirm. The post is back in the feed.
Warning
Delete permanently removes a deleted post irrevocably. After that, you can no longer restore it.
Tip
Delete multiple posts at once: Select them with the checkboxes and use Actions and then Delete selected. System admins can restore multiple deleted posts at once via Actions and Restore.