
How do I customize the appearance and menu?
Updated Reading time: 4 min
On this page
Under Appearance, you give the platform the face of your company: company name, logo, favicon, and colors. You also set the default menu that all employees start with and upload custom backgrounds for video calls. The page has three tabs for this: Brand, Menu, and Backgrounds.
Info
These settings are available to system administrators.
Set up brand#
Open the administration and select Appearance from the menu under Platform. The Brand tab is open.
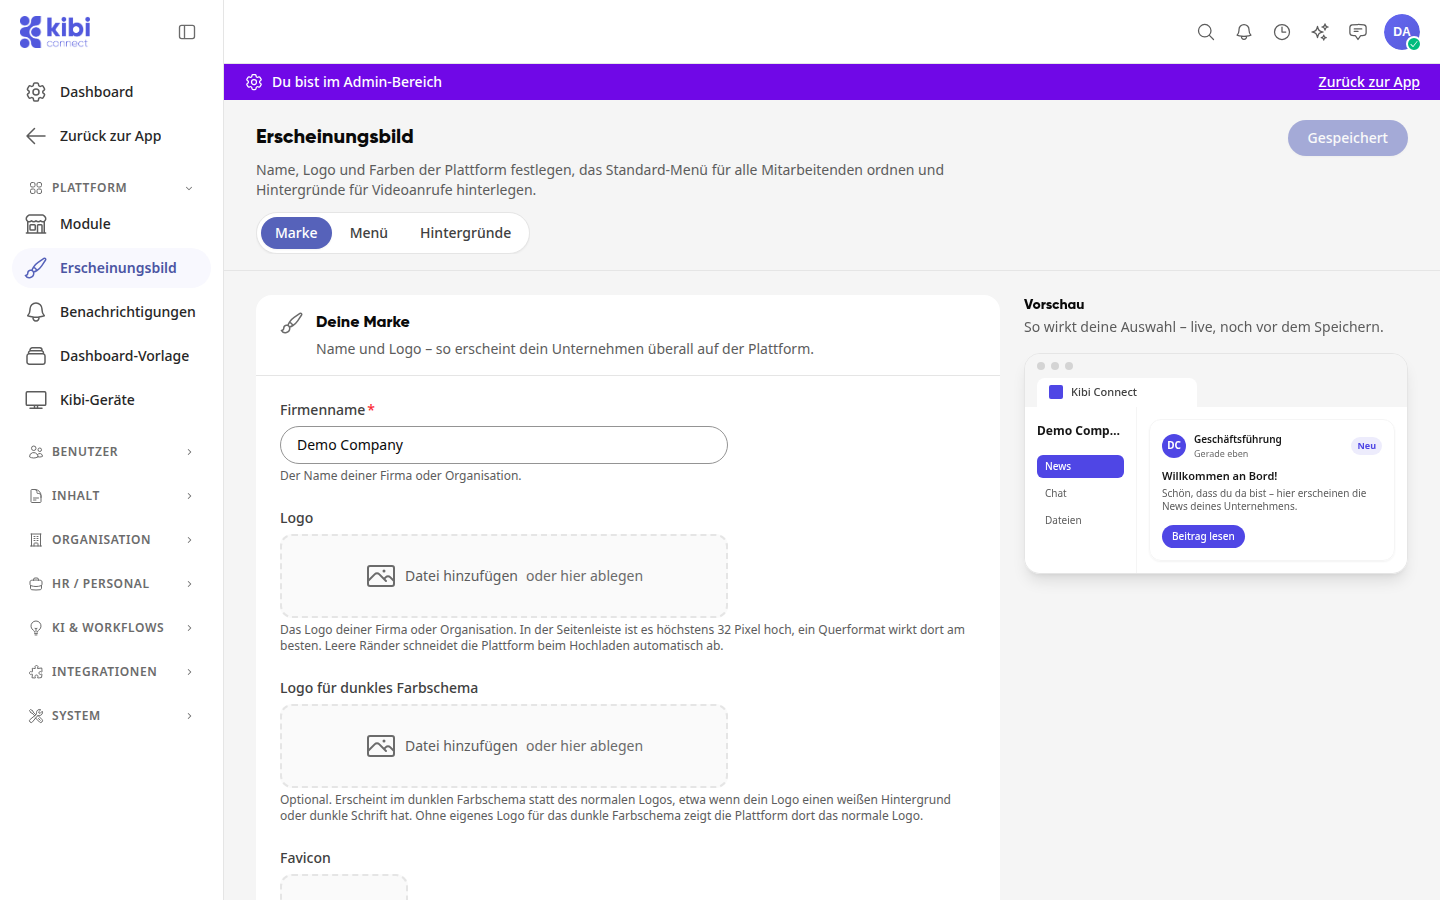
Enter the name of your company or organization under Company name. This field is mandatory.
Upload your company logo under Logo: click on Add file or drag the file onto the field. In the sidebar, the logo is at most 32 pixels high; a landscape format works best there. The platform automatically trims empty margins when uploading.
Optional: Upload a logo for dark color scheme, for example if your logo has a white background or dark text. Without this logo, the platform displays the normal logo in the dark color scheme.
Upload a favicon: a square image with at least 512 × 512 pixels. It appears in the browser tab and as an app icon.
Under Colors, select one of the color templates or enter a color value under Custom color, for example #059669. The primary color shapes buttons, links, and accents across the entire platform. The preview on the right shows your selection immediately, even before saving.
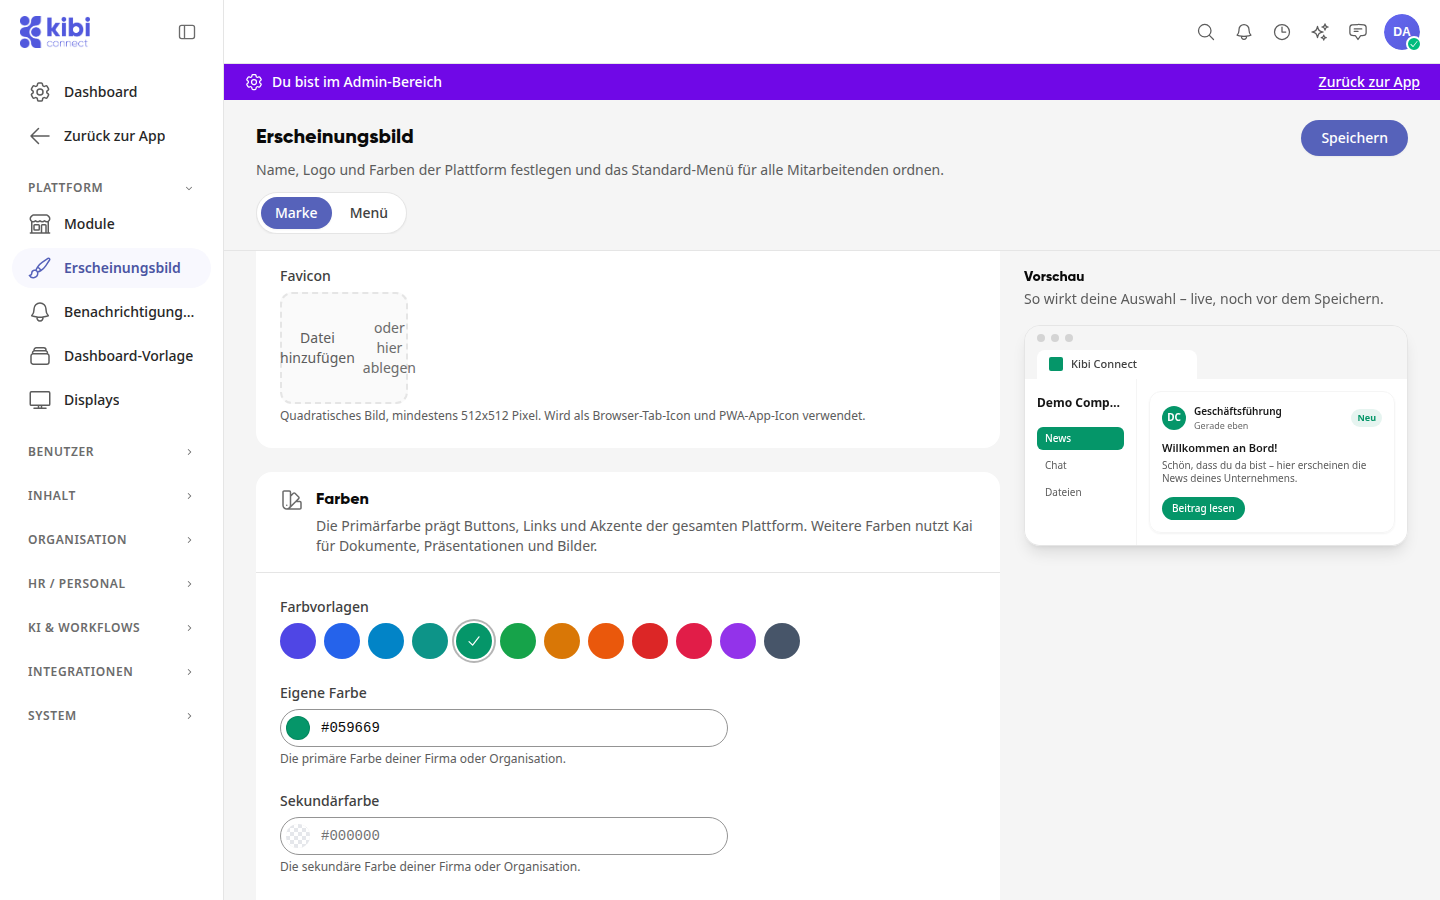
Optional: Set a secondary color and add up to four more colors via Add color, for example for charts and accents.
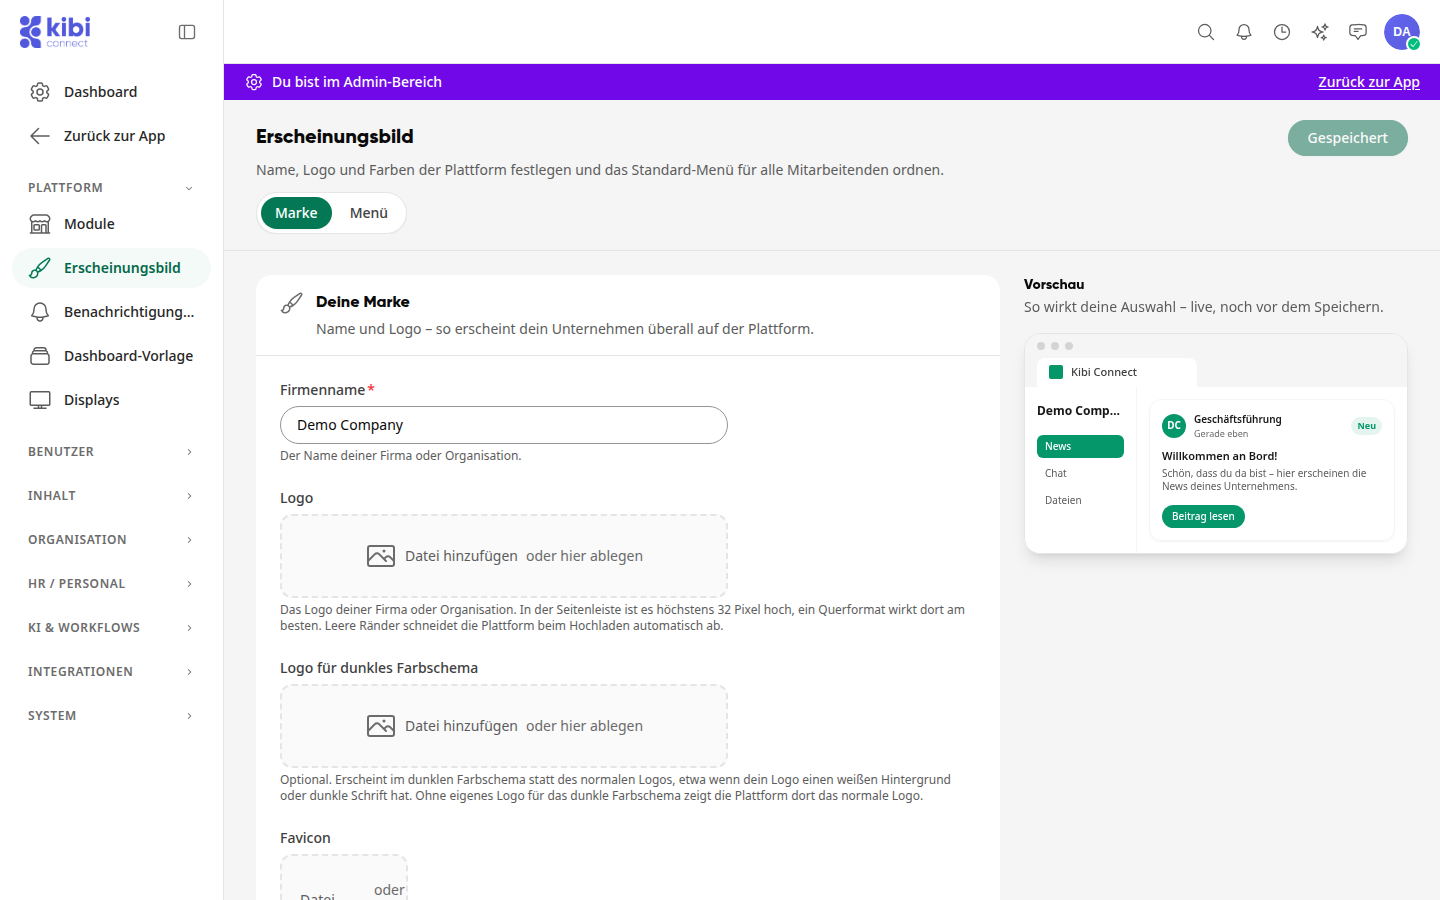
Click on Save at the top right. The button then shows Saved, and the changes are immediately visible on the platform.
Info
The button at the top right shows Save as long as there are unsaved changes, and then Saved. If you want to leave the page beforehand, the platform asks with Discard changes?: With Continue editing you stay on the page, with Discard the changes are lost.
Design Guidelines for Kai#
In the Design Guidelines section, you define how Kai designs documents, presentations, and images, and how he writes for your company. The platform itself only uses the logo and colors from this.
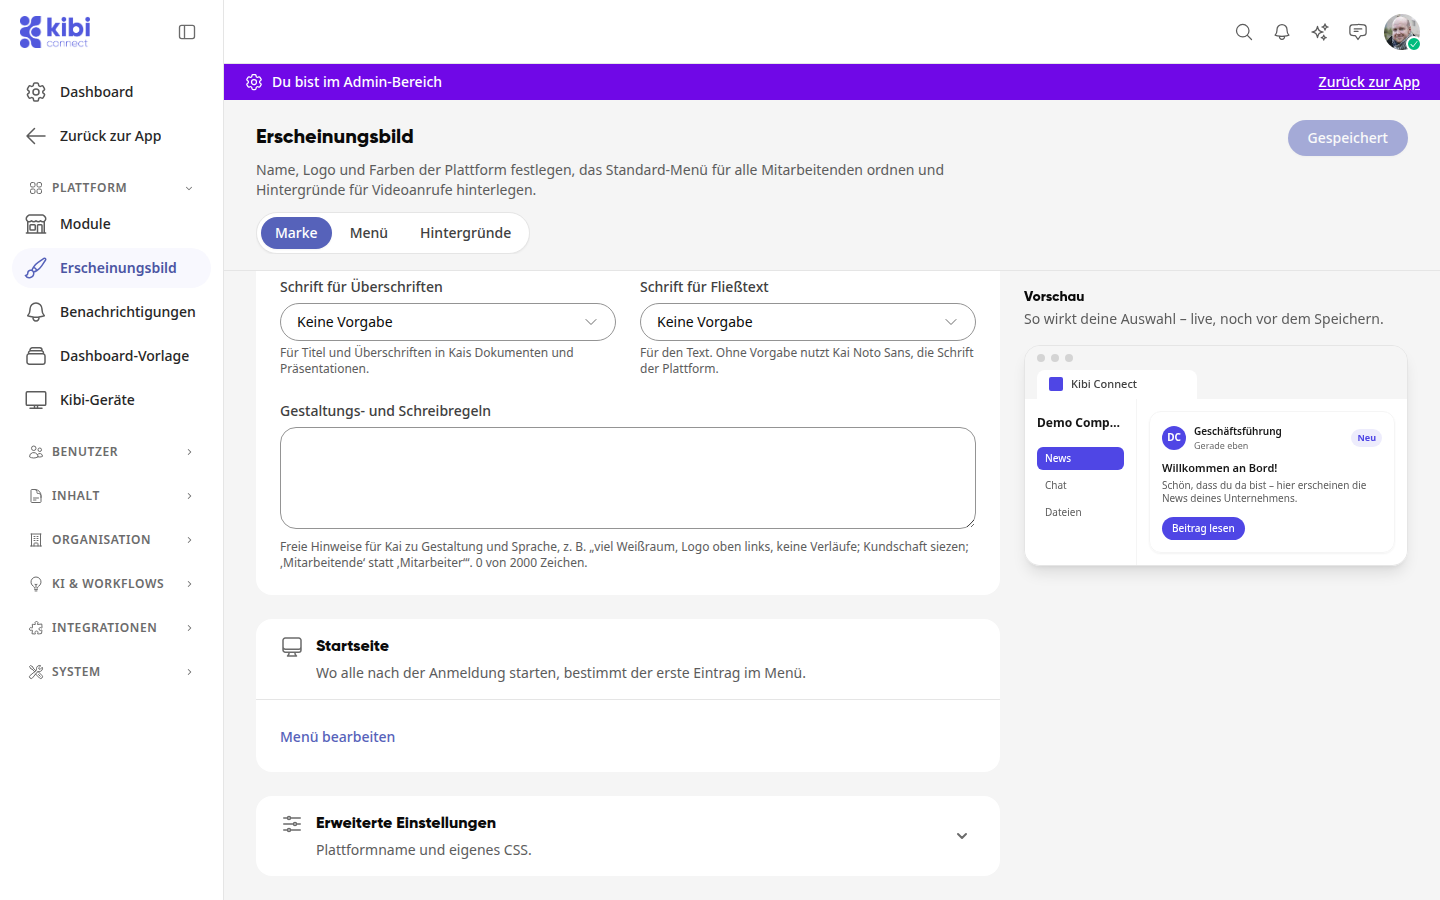
Font for headings: for titles and headings in Kai's documents and presentations.
Font for body text: for the text. Without a specification, Kai uses Noto Sans, the platform's font.
Design and writing rules: free notes for Kai on design and language with up to 2000 characters, for example "lots of white space, logo top left, no gradients; address customers with 'Sie'; use 'employees' instead of 'staff'". Rules on language, such as form of address, fixed terms, or tone, are followed by Kai in every text he writes for your company, not just in documents and presentations.
Without specifications, Kai designs neutrally. You also save this information at the top right with Save.
Platform name and custom CSS#
Expand the Advanced Settings section at the bottom.
Enter a custom name under Platform Name. It will appear, for example, in the browser tab, in bookmarks, and in emails. If the field is left empty, the platform will be called "Kibi Connect".
Under CSS, you can customize the design with your own CSS.
Click Save in the top right corner.
Set a standard menu for all employees#
The standard menu applies to everyone who has not customized their own menu. Where everyone starts after logging in is determined by the first entry in the menu. Every change is saved immediately; there is no save button here. You can also reach this tab via Edit menu in the Home section of the Brand tab.
At the top, switch to the Menu tab. As long as no default has been saved yet, you will see the previous order; the first change creates the default.
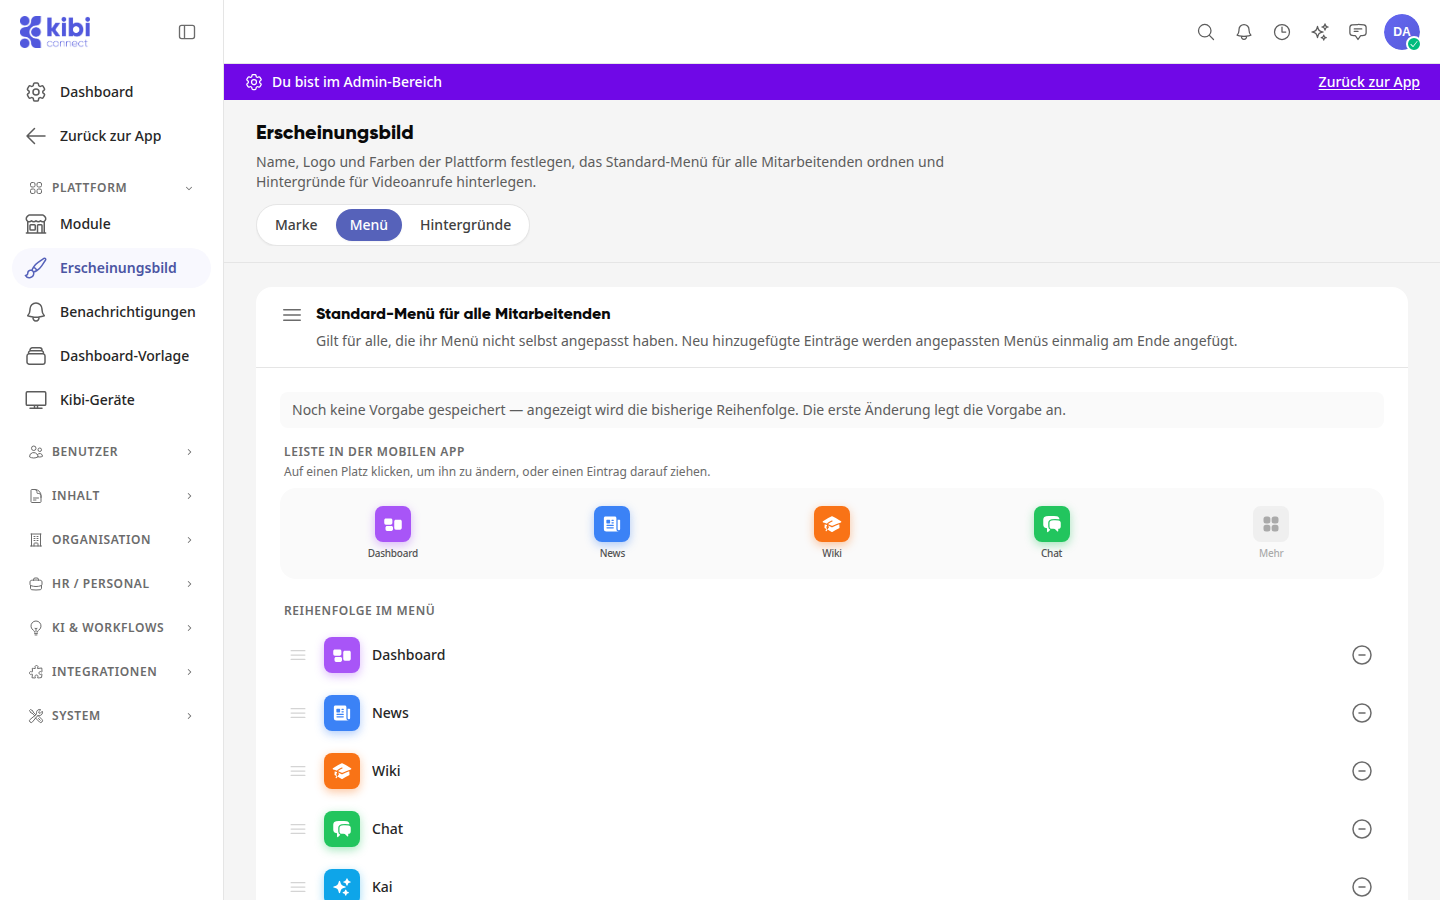
Under Order in menu, drag an entry to a new position using the grip handles on the left.
To hide a section, click the minus sign at the end of the row and confirm with Remove. The section is not deleted and remains accessible under "All modules" and in the "More" menu.
Under Bar in the mobile app, click on a slot and select the desired section under What should appear here? With Automatic, the slot follows the order in the menu. You can also drag an entry directly onto a slot. The last slot, More, is fixed.
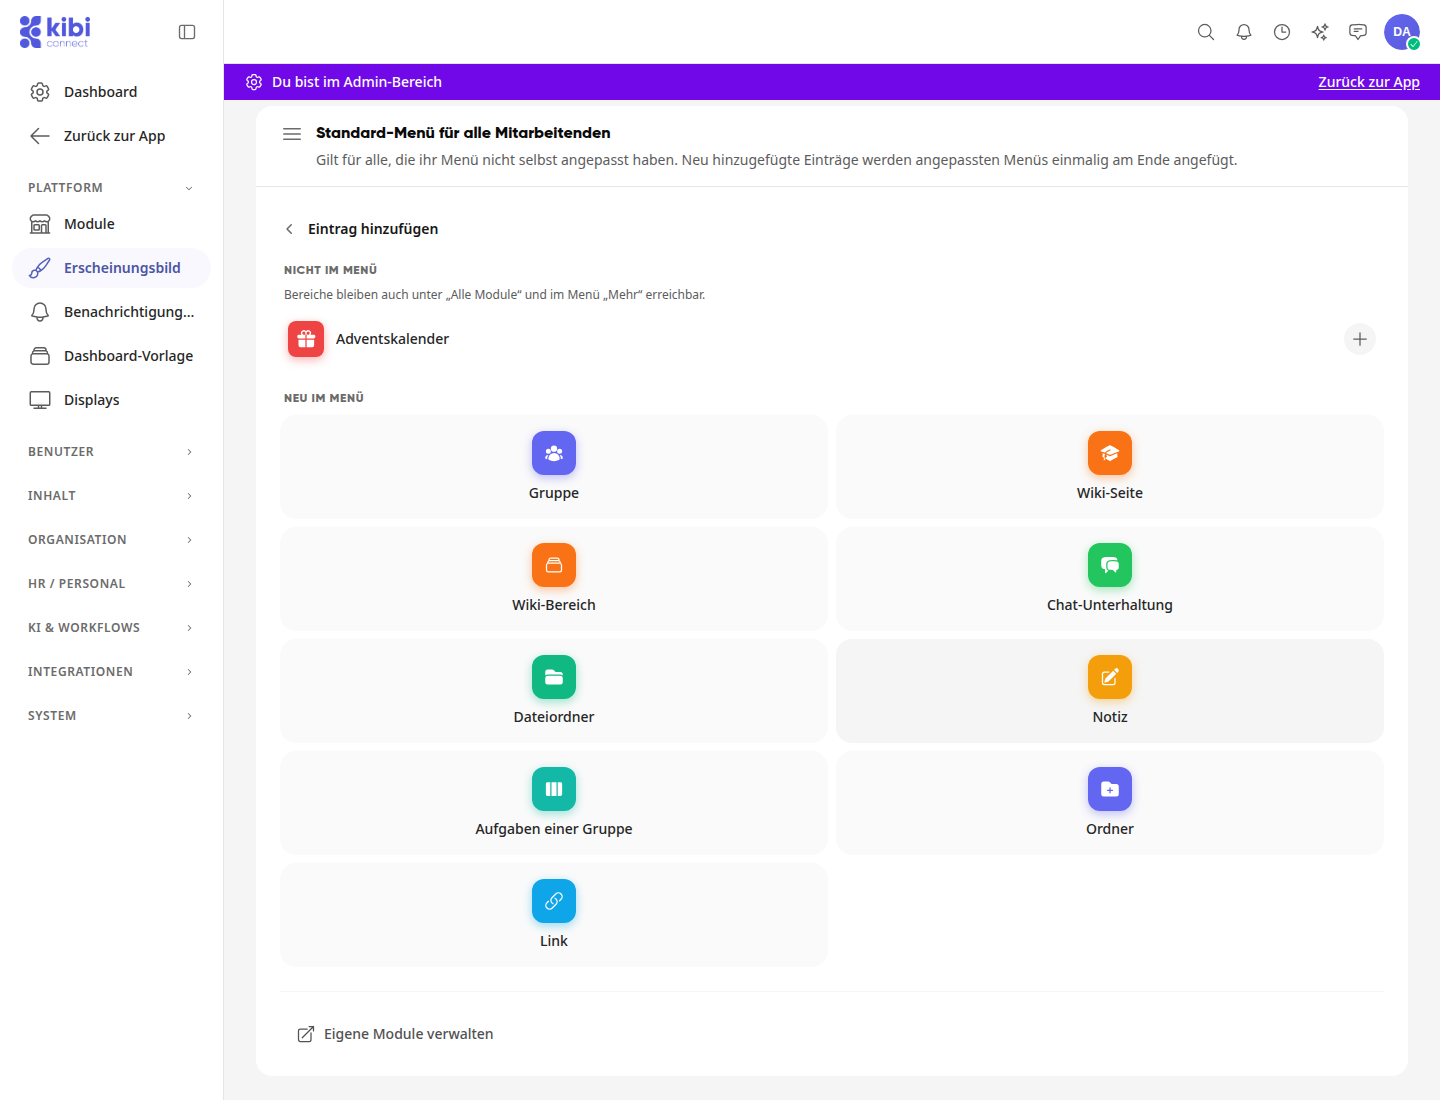
With Add entry, you can bring hidden sections back into the menu using the plus sign. Under New in menu, you can also create favorites, such as a Group, a Wiki page, or a File folder, and group entries together in a Folder or add a Link.
Tip
With Remove default below the menu list, you can revert the standard menu. Employees without their own menu will then see the previous order again.
Info
New entries in the standard menu are appended once at the end of menus that someone has customized themselves.
Storing backgrounds for video calls#
In the Backgrounds tab, you upload your own images, for example with your logo or your rooms. They are available to all employees and guests as virtual backgrounds in video calls, before the built-in images.
Switch to the Backgrounds tab at the top. As long as there are no own images, No own backgrounds yet is displayed there.
Click on Upload image and select an image: JPG, PNG or WebP, up to 5 MB, preferably in landscape format 16:9. The platform reports Background added., the image appears as a card with its file name. Above it, you can see how many images you have already stored, for example 2 of 30.
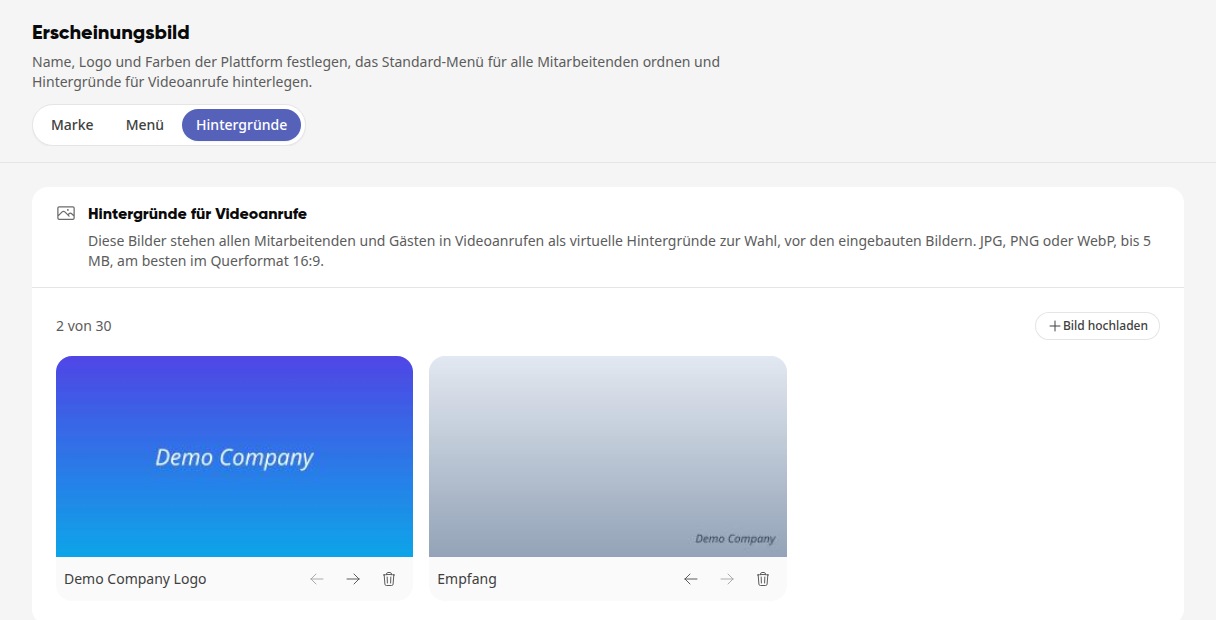
With the arrows Forward and Backward under an image, you change the order in which the images appear in the video call. The order is saved immediately.
To remove an image, click on the trash can icon (Delete) and confirm with Delete.
In the video call, everyone can find the images under Background effects, see How do I make a video call?.
Warning
A deleted image disappears from the selection for everyone. Anyone currently using it will have no background on the next call.