
How do I build a form?
Updated Reading time: 4 min
On this page
You create a form from a template, adjust the questions, and publish it. The selected roles will then find it under Forms, and you will see all responses collected in a table. If desired, each response becomes a task.
Info
This feature is available to content managers. Only system admins may create a public link.
Create form#
Open the Administration and click on Forms under Content.
Click on New form.
Under Name, enter what the form should be called in the navigation and in the list.
Choose a template: Customer feedback, Damage report, Request survey, Registration, IT ticket, Error report, Feature request, Defect report, or Blank. With Describe with Kai, you specify what you want to ask, and Kai builds the questions. With From photo or PDF, Kai turns a paper form into a digital one.
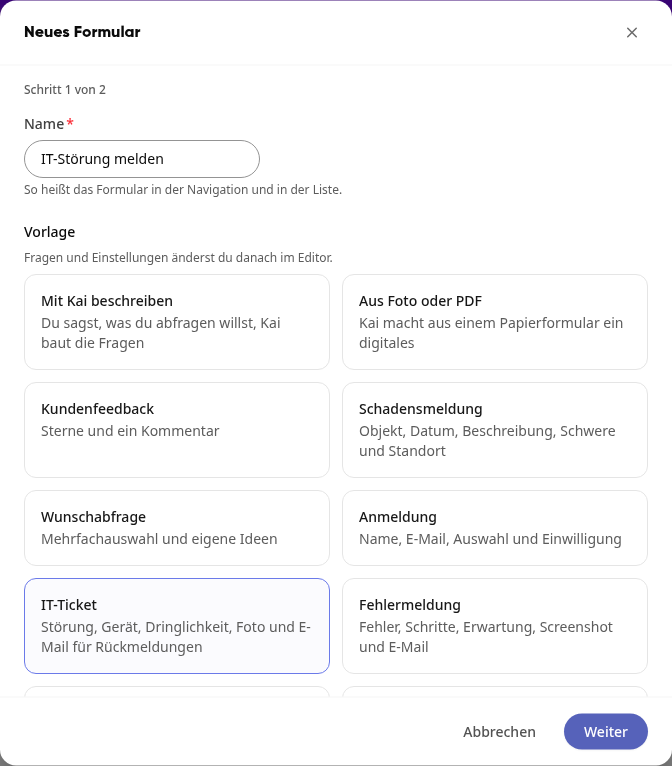
Click on Next.
Specify who may respond: All employees or Specific roles.
Click on Create form. The form opens as a draft.
Tip
IT ticket, Error report, Feature request, and Defect report are intended for requests: They ask for an email address for responses. To do this, enable Responses become tasks in the settings.
Editing Questions#
In the Questions tab, each question appears exactly as respondents will see it. On the right, the Preview shows the entire form. The platform saves changes automatically, and you will see Saved.
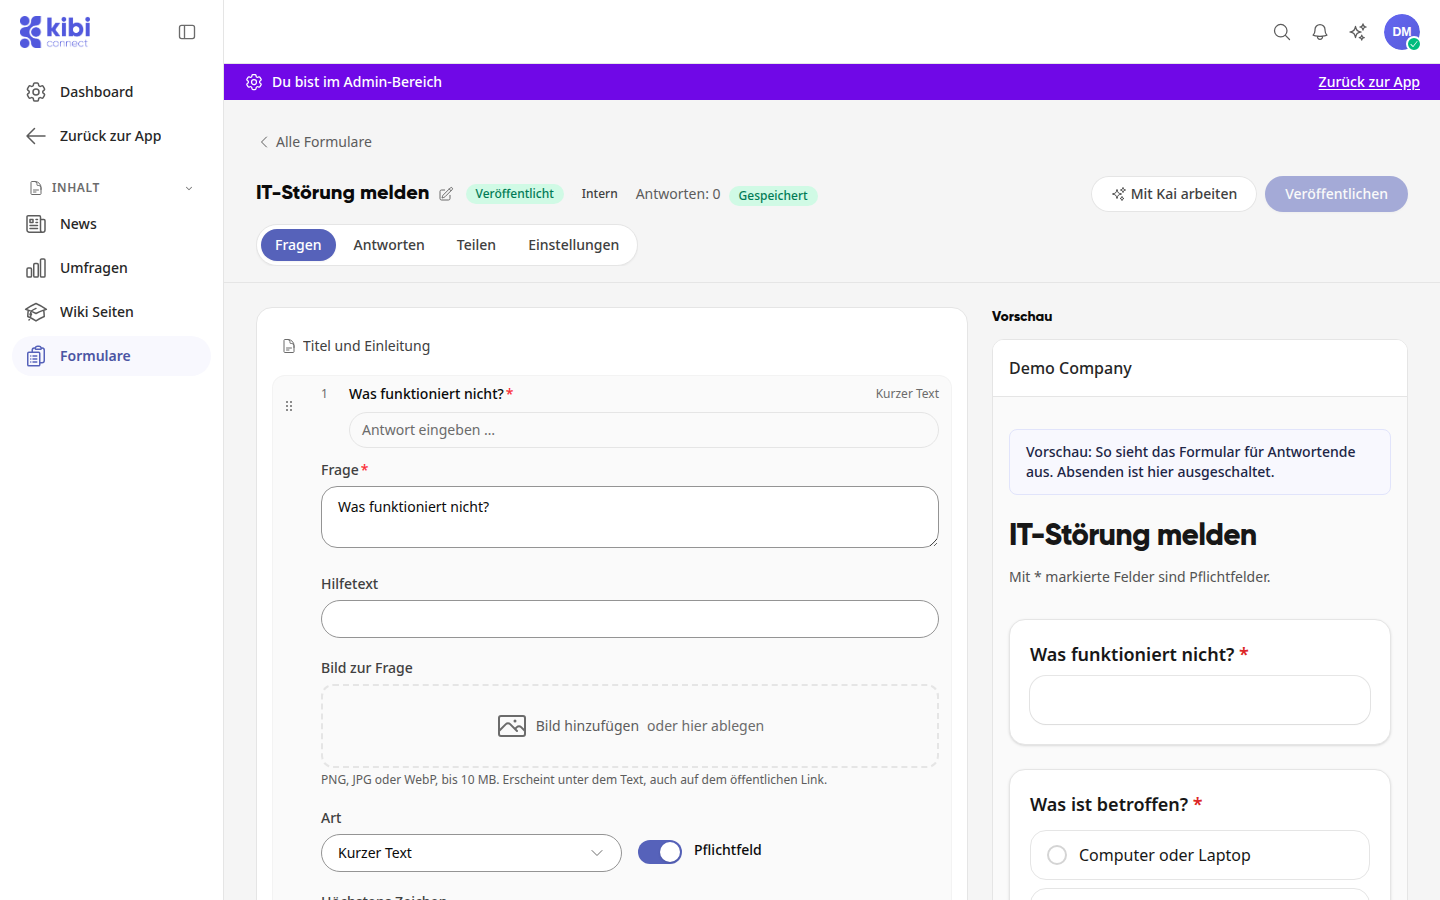
Click on a question. Its details expand below: Question, Help text, Image for the question, Type, and the Required field toggle. Depending on the type, additional details appear, such as Maximum characters.
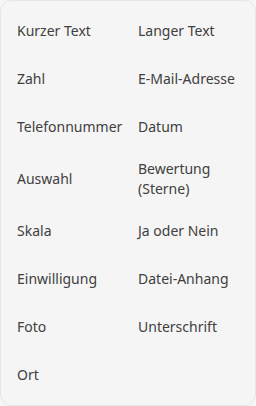
To add a new question, click on Add question and select the type.
Use the drag handles on the left to move a question. Below the question, you will find Duplicate and Remove question.
Click on Title and introduction to change the title above the form and the introduction. There, you can also add an image and up to 5 PDFs for download.
Tip
The text of a new question is only saved once you leave the field. Until then, Publish is locked and you will see "Please correct the highlighted fields first." Simply click into another field.
Define settings#
In the Settings tab, you define how the form looks and who sees what:
Appearance: Folder, Layout (One question per screen or Everything on one page) as well as the heading and text of the thank-you page.
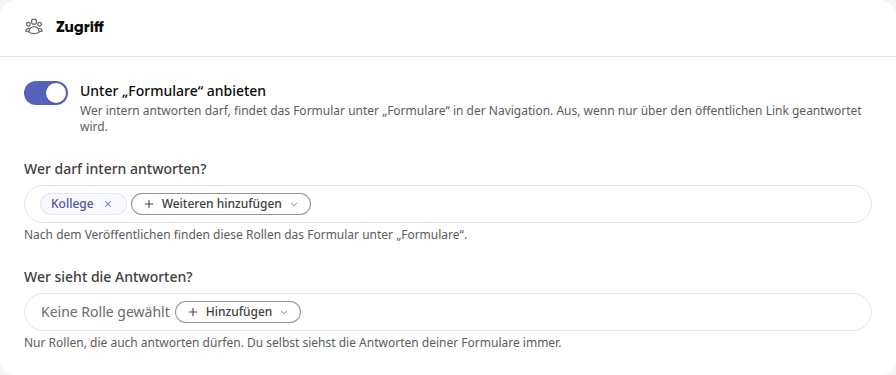
Access: Offer under "Forms", Who may respond internally? and Who sees the responses? You always see the responses to your own forms.
Notification: Do not notify, On every response or Collected daily, plus roles, groups, individuals and email addresses as recipients.
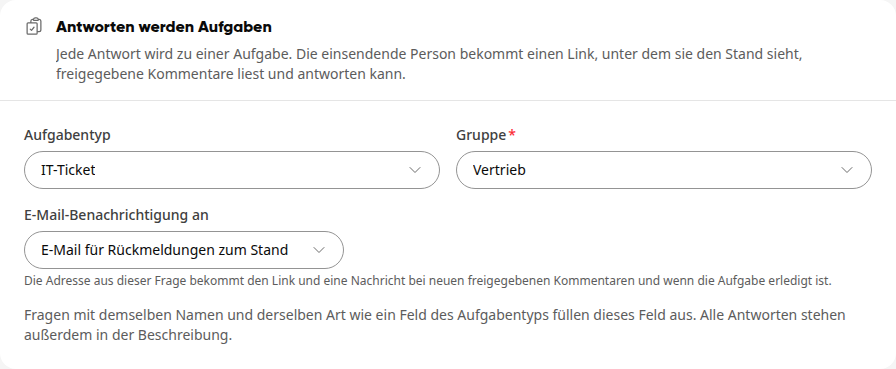
Responses become tasks: Select Task type, Group and, under Email notification to, the email question. Then every response becomes a task in that group, and the submitting person tracks the status via a status link.
After submission: With Create workflow, every new response starts a workflow that, for example, creates a task or sends a message. You only see this section if you are allowed to manage workflows.
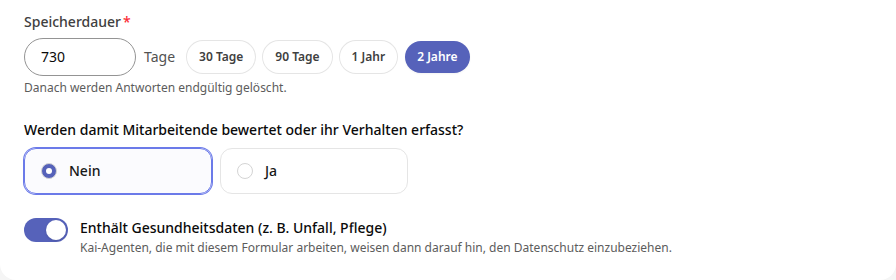
Data protection: Purpose, Legal basis and Retention period. This generates the privacy notice. After the retention period expires, responses are permanently deleted.
At the end of the Data protection section, there are two further details:
Are employees being evaluated or their behavior recorded? If you select Yes, the platform points out that the works council must be involved in the decision.
Contains health data (e.g. accident, care): Turn this on if the form asks for health information, for example in an accident report. Kai agents working with the form will then point out that data protection must be included. The switch takes effect immediately; you do not need to republish the form for this.
Publish form#
Click Publish at the top right. You will see the message "Form published," and the status changes from Draft to Published.
You can still edit the form afterwards. The status will then show Changes not published. Click Publish again so respondents see the updated version.
Create public link#
With a public link or QR code, anyone can respond, even without an account. This is done by a system administrator.
Open the published form and click on the Share tab.
Click on Create public link.
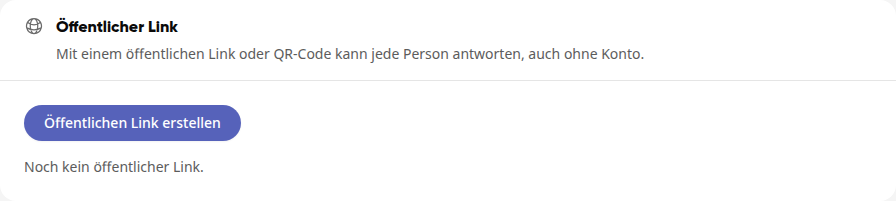
Copy the link using Copy, or download the code via QR code and QR code as PNG.
If needed, set Responsible and Ends on. With Show in form overview, employees will find the link under Forms and can share it.
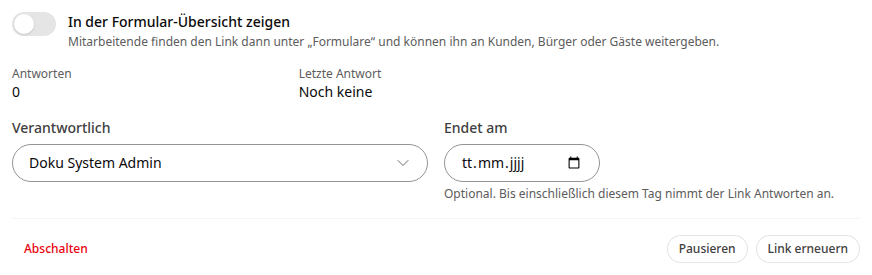
You can control the link later using Pause, Deactivate and Renew link.
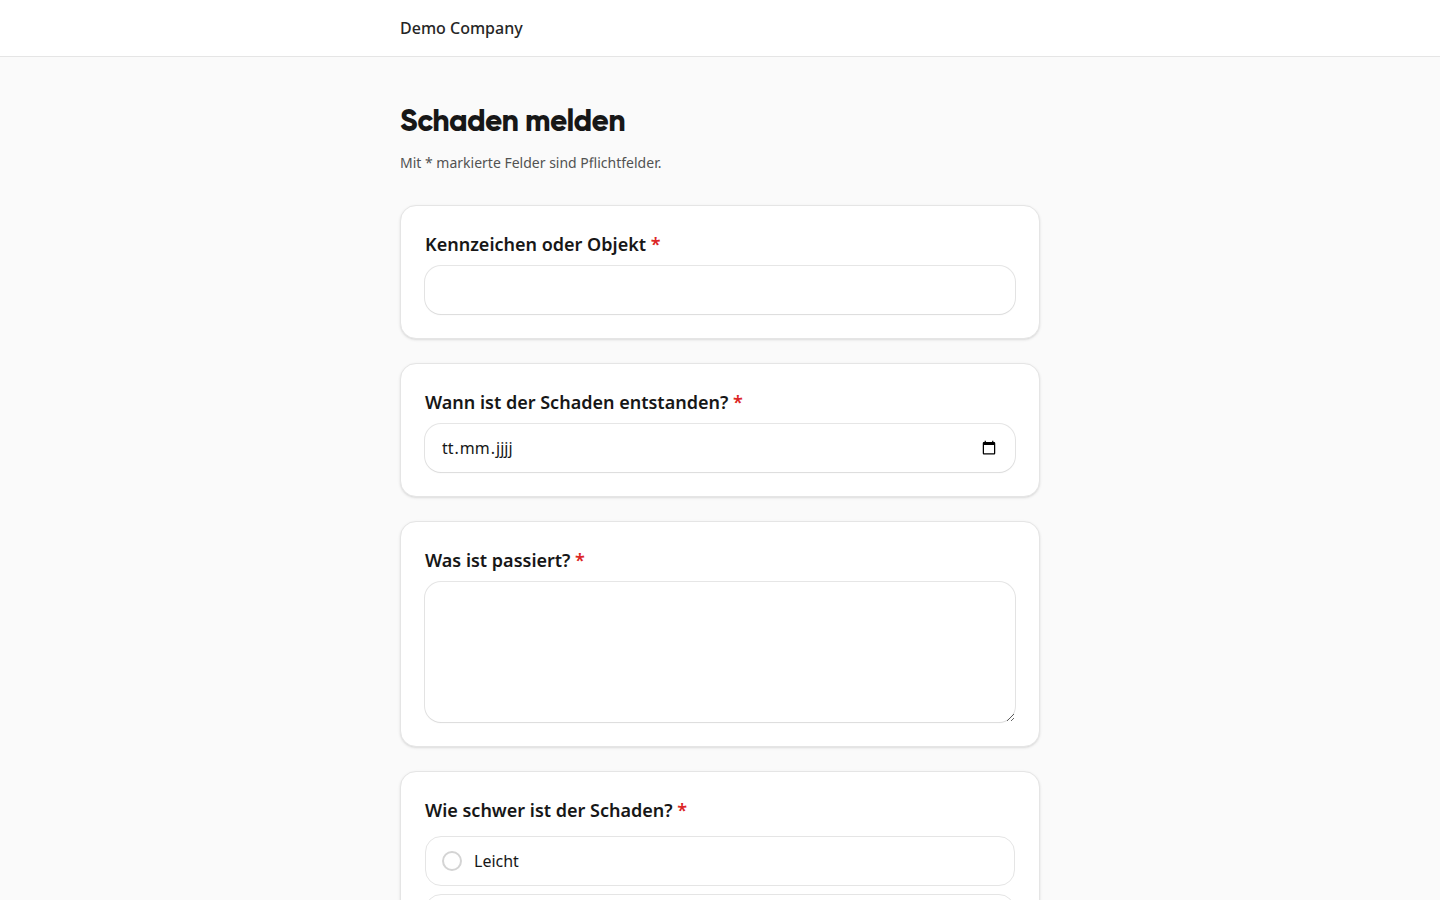
This is what the public page looks like for respondents without an account:
Important
If the imprint and privacy policy are missing, a notice with the path Store in the policies appears instead of the button. There, under Required information, enter the Responsible entity, the Address, the Email for privacy questions and the Privacy notice, and click on Save.
Viewing Answers#
Click on the Answers tab in the form. Each answer is a row in the table that you can search and filter by person. If the form contains a question of the Location type, you can switch between Table and Map at the top.
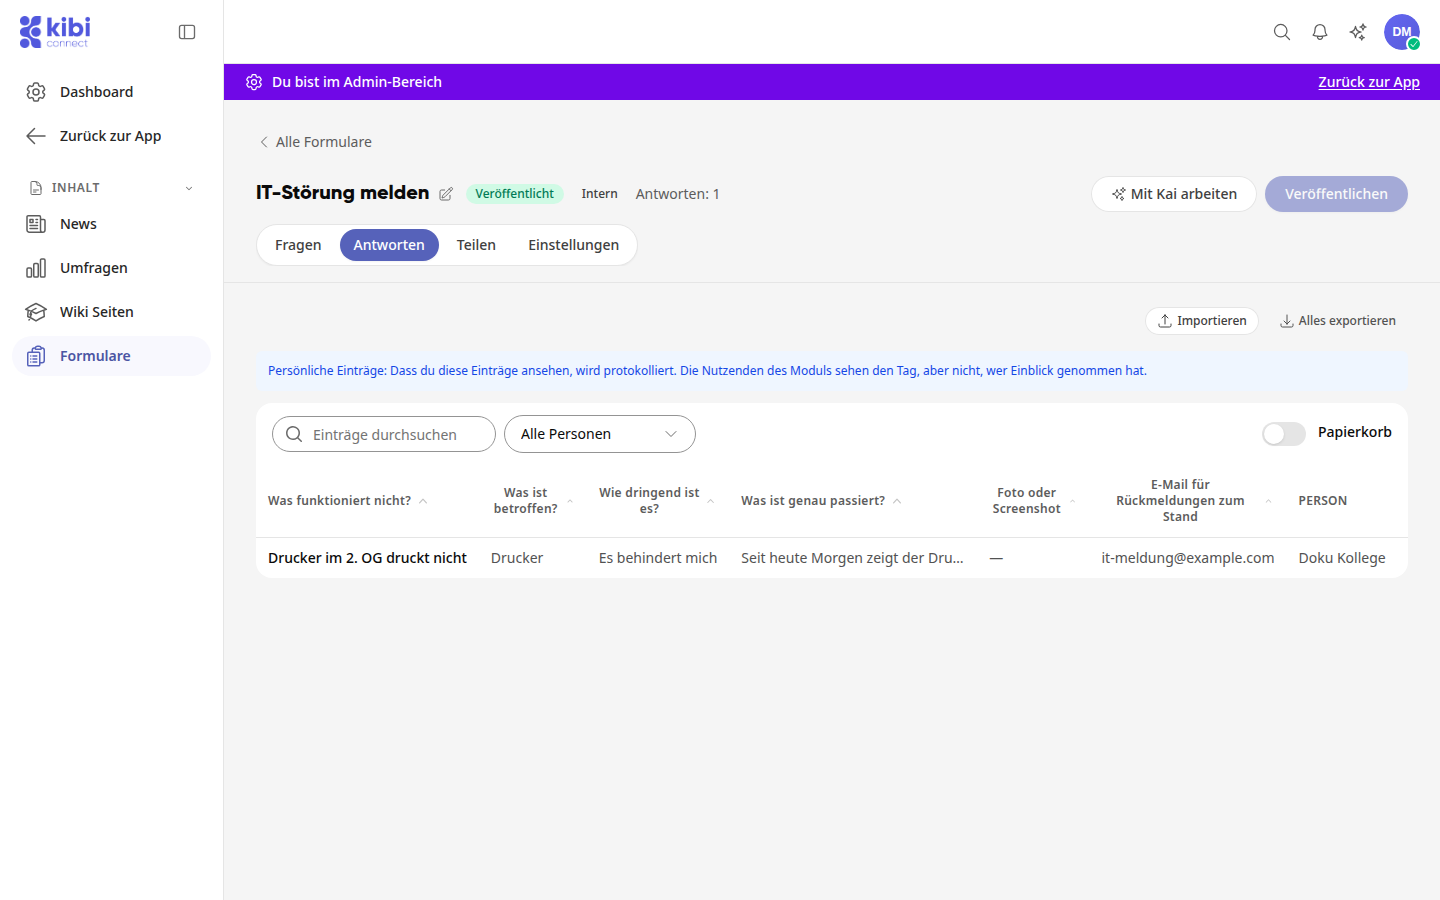
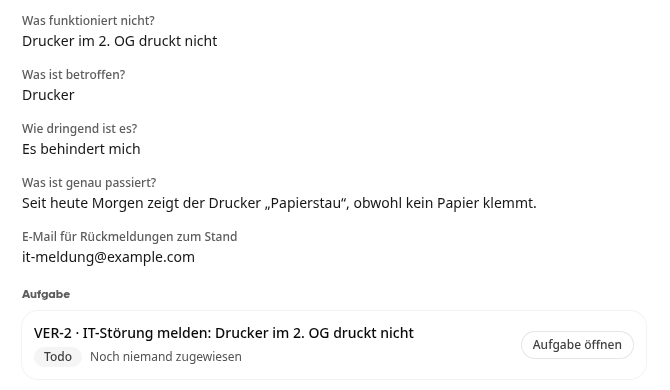
Click on a row to open the answer. Submitted answers are read-only, but you can delete them. If the answer has become a task, you will see its process number, status, and who is responsible under Task. Use Open task to jump to it.
Click on Export all, select Excel (.xlsx) or ZIP archive (JSON, CSV, and files), and click on Start export.
Use Import to read answers from an Excel, CSV, or JSON file. The Trash toggle shows deleted answers.
Info
Viewing answers with personal entries is logged.