
How do I create, edit, and deactivate users?
Updated Reading time: 3 min
On this page
In user management, you create employees, guests, and service accounts, maintain their data and roles, and block or delete access.
Info
This function is available to HR managers and system admins. Only system admins manage service accounts.
Info
User management remains accessible even if the Employee Directory module is disabled on the Modules page. Only the Colleagues directory is then inaccessible.
Open user list#
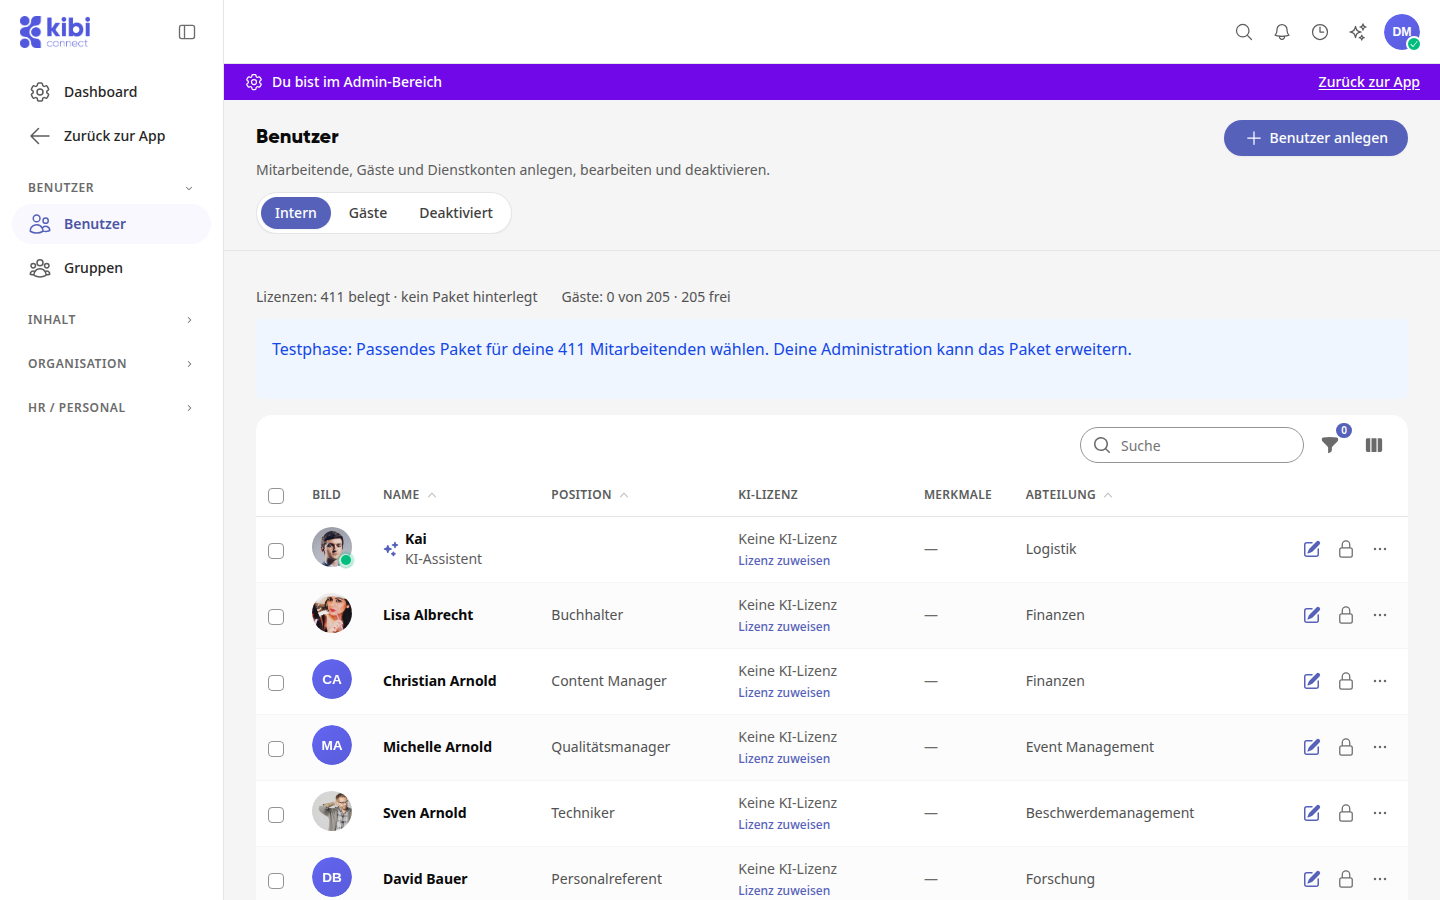
Open Administration and click on Users under User. The page shows at the top how many licenses are in use and how many guest accesses are available. Use the tabs Internal, Guests, and Deactivated to switch views; system admins also see the Service Accounts tab. Use the Search to find individual people, and use the icons next to it to filter the list and select the columns.
The AI License column shows which license a person has for Kai. People with access to Subscriptions & Contracts can assign them, for example, system admins.
Create user#
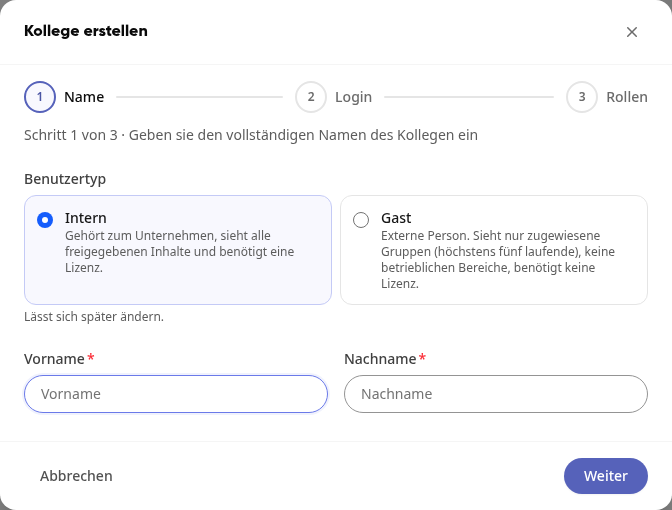
Click on Create User at the top right.
Select the User Type and enter the First Name and Last Name. Then click Next. Internal belongs to the company, sees all shared content, and requires a license. Guest is an external person, sees only assigned groups (a maximum of five active ones), no operational areas, and does not require a license. Service Account is only available to system admins: It is intended for an interface, not a person, never logs in, and works only via API tokens.
Under Email or Login, enter an email address or a unique login name, for example, the personnel number. The Send Welcome Email toggle is enabled. Click Next.
For Internal, select the Roles; the standard roles are already selected. For Guest, select the Internal Contact Person; you are pre-selected. This person receives the notices before expiration and can extend access.
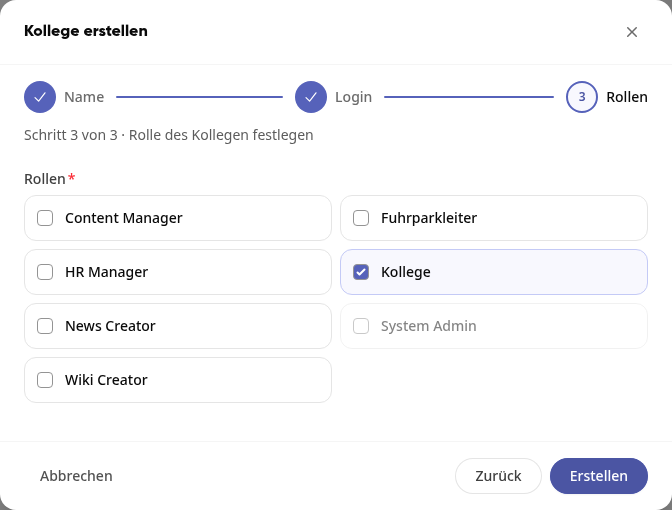
Click Create. The edit page for the new person opens directly afterward.
Info
As an HR manager, you cannot select the System Admin role when creating a user.
Edit user#
Click on the name or the pencil icon Edit in the list. The data is distributed across four tabs. You save changes in each case with Save.
Profile: Name, position, supervisor, birthday, hire date, profile picture, and groups.
Contact Information: Business and private contact details.
Security: Login email, login, password, and roles. Use Add Role to add more roles; their permissions apply collectively.
Notifications: Email notifications, notification schedule, and push notifications.
Adopt business email as login email#
If the business email in the Contact Information tab differs from the login email, the platform suggests using it for login as well.
In the Contact Information tab under Work Information, enter the Email and click Save.
The note Also use for login? appears below the field.
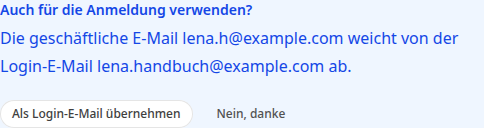
Click Adopt as Login Email if the person should log in with it in the future. The login email changes immediately. In the Security tab, it then appears as Not confirmed; there you can send the Confirmation Email. With No, thanks, the login email remains as it is.
Wichtig
Inform the person if you change the login email: They will log in with the new address from now on.
Provide Magic Link#
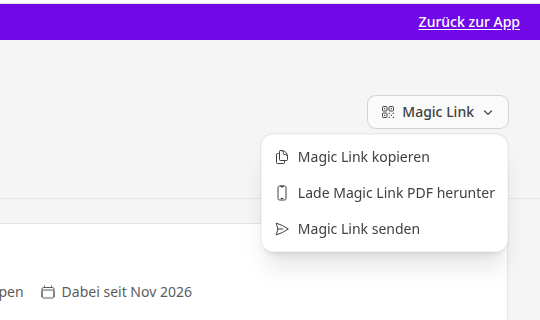
At the top right of the edit page, you will find the Magic Link menu with Copy Magic Link, Download Magic Link PDF, and Send Magic Link.
Deactivate and reactivate user#
Click on the lock icon Deactivate in the person's row.
Confirm the question Deactivate access? with Confirm. The person then appears in the Deactivated tab.
To undo, click Activate in the Deactivated tab and confirm Reactivate access?
Delete user#
Click on the three dots in the person's row and then on Delete.
Confirm Delete colleague with Confirm.
Warnung
If someone only temporarily does not need access, deactivate the person instead of deleting them. You can reverse this at any time.